

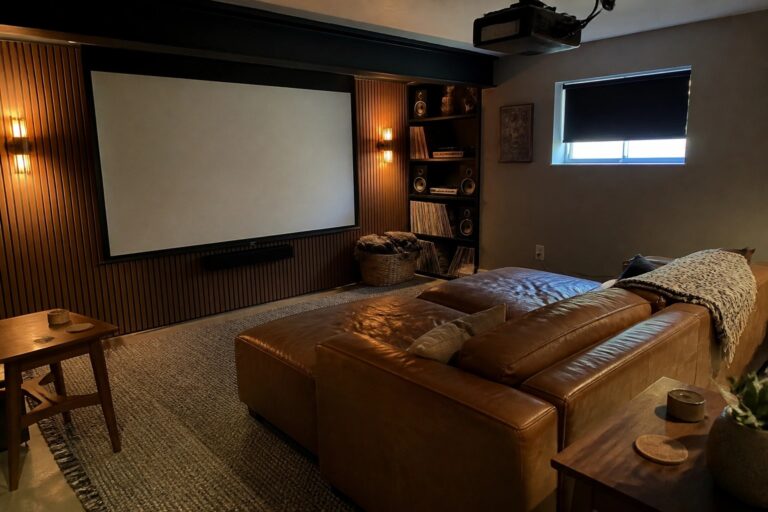
When I set out to create a movie room the projector wall quickly becomes the element that decides where the furniture goes and how the room breathes during the day.
Most setups fail when they ignore how the space will feel with regular use instead of just during screenings.
Sight lines come first.
I learned this the hard way after mounting a screen only to realize the couch placement blocked half the room’s natural flow.
Ideas that treat the projector wall as part of the room rather than its sole focus end up working better once the novelty wears off.
Wood Paneling Behind the Projector Screen
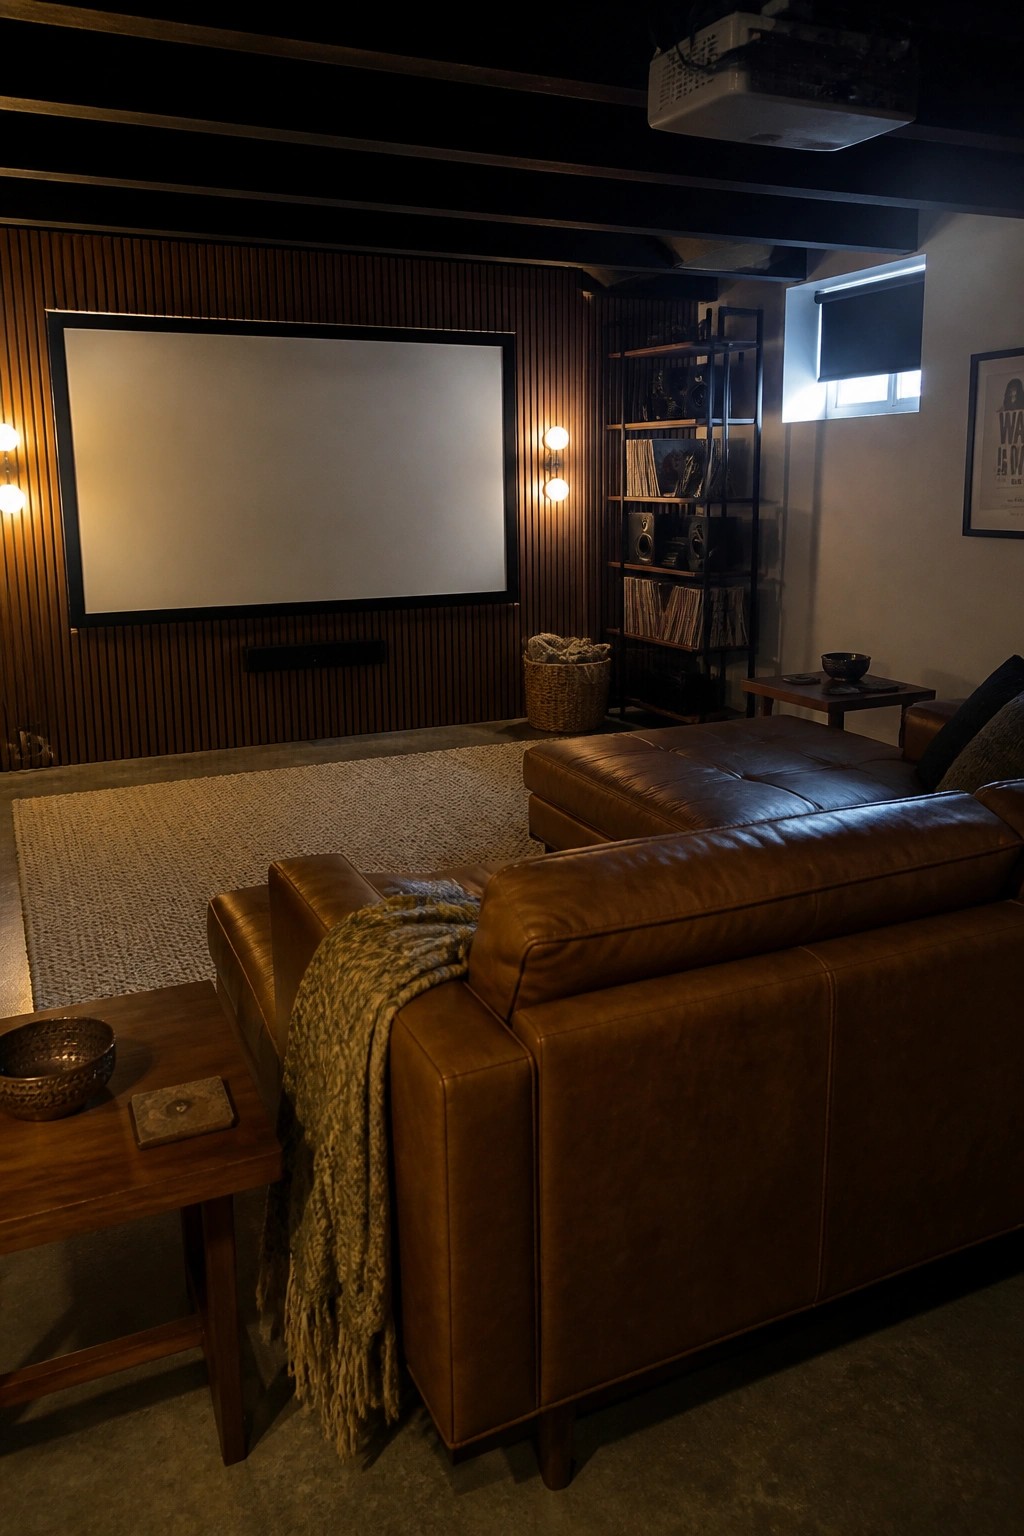
Vertical wood paneling on the wall behind the screen gives the room a finished look without much extra effort. It turns what could feel like a plain surface into something that belongs in the space and helps the screen sit more naturally in the room.
This works best in basements or smaller dedicated rooms where you want the viewing area to feel enclosed. Match the tone of the wood to other surfaces like side tables or shelving so the whole room stays consistent.
Place The Projector On A Low Console
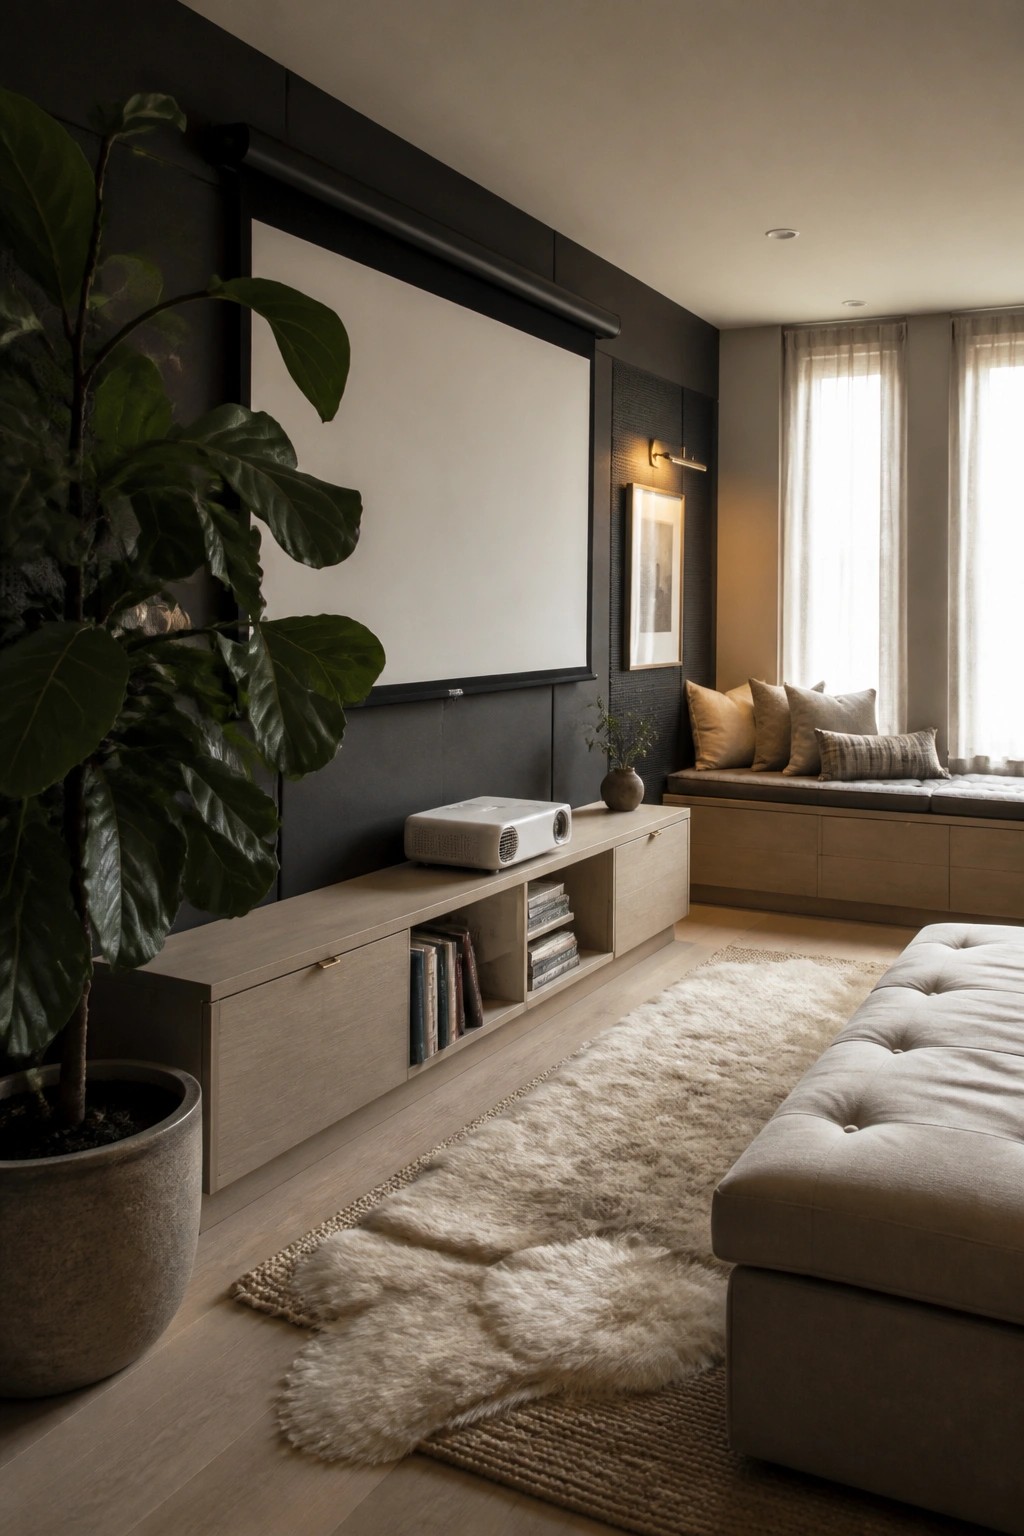
A low console under the screen gives the projector a stable spot without taking up floor space or blocking the view. It also adds storage for movies and remotes right where you need them. The dark wall behind the screen helps the image stand out more clearly during the day.
This setup works best in rooms that double as living space or guest rooms. Keep the console narrow so the seating area stays open and easy to walk through. Make sure the surface is level and the projector has room for airflow on all sides.
Tiered Seating Improves Every View
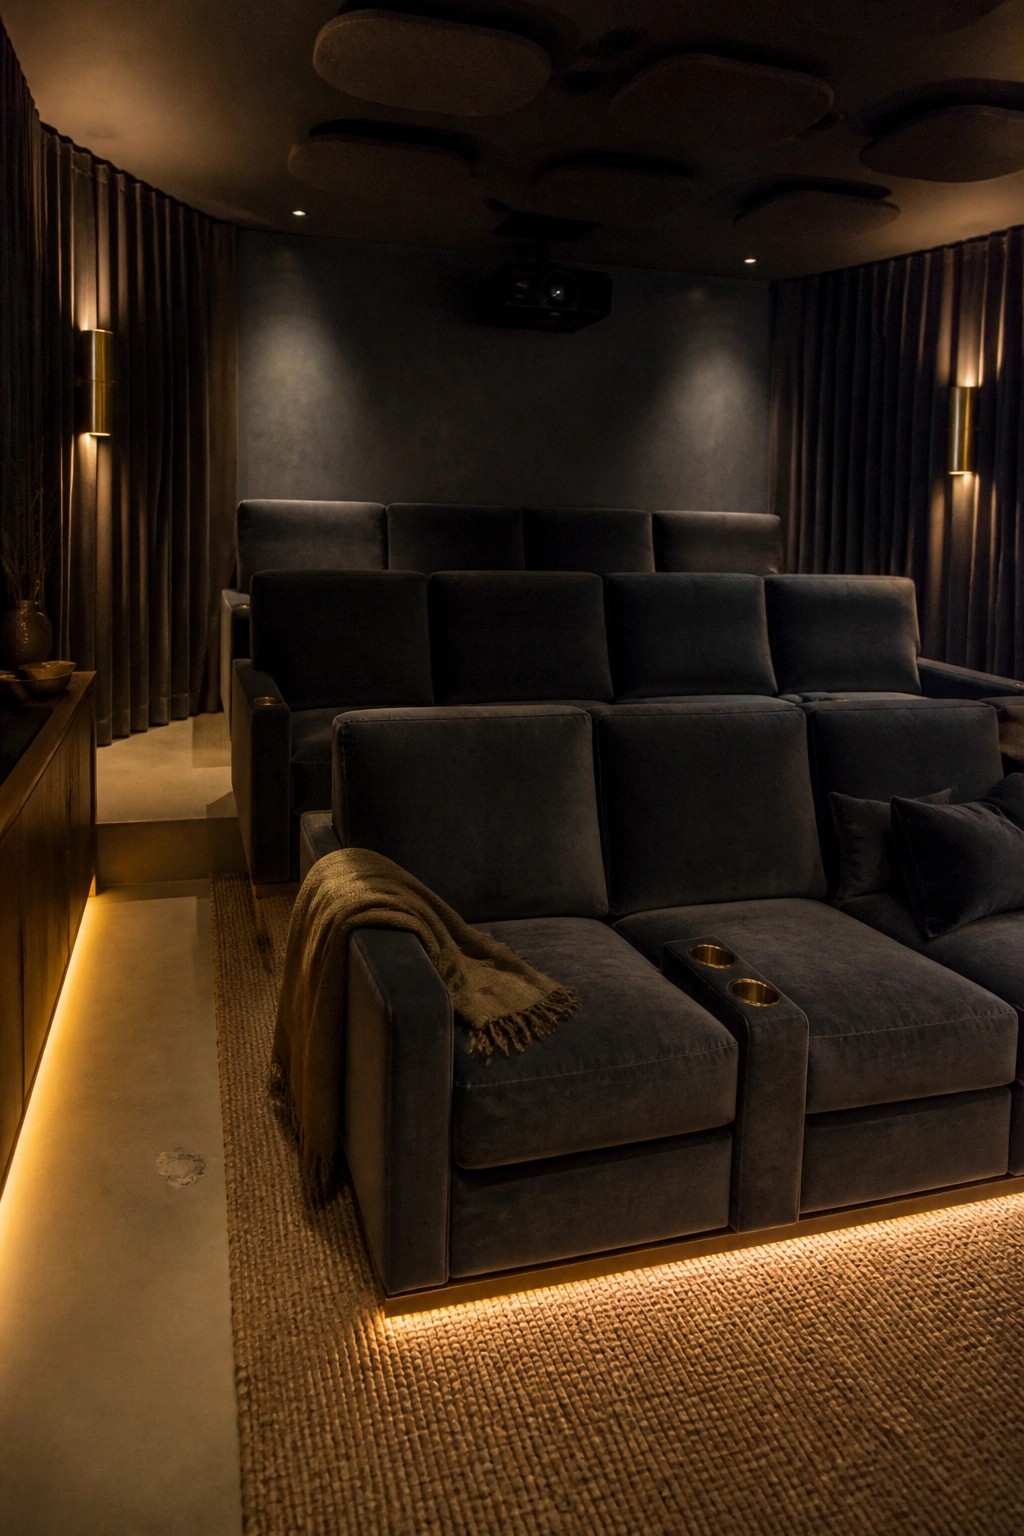
Many home theaters end up with blocked sight lines because all the seats sit flat on the floor. Raising each row by a step or two keeps the screen visible from every seat and makes the room feel more like a real cinema.
This layout works best in rooms with enough depth and a bit of height. Make the risers wide enough to walk safely and add low lighting along the edges so guests can find their seats without turning on bright overhead lights.
Built-Ins Frame A Dedicated Projector Screen
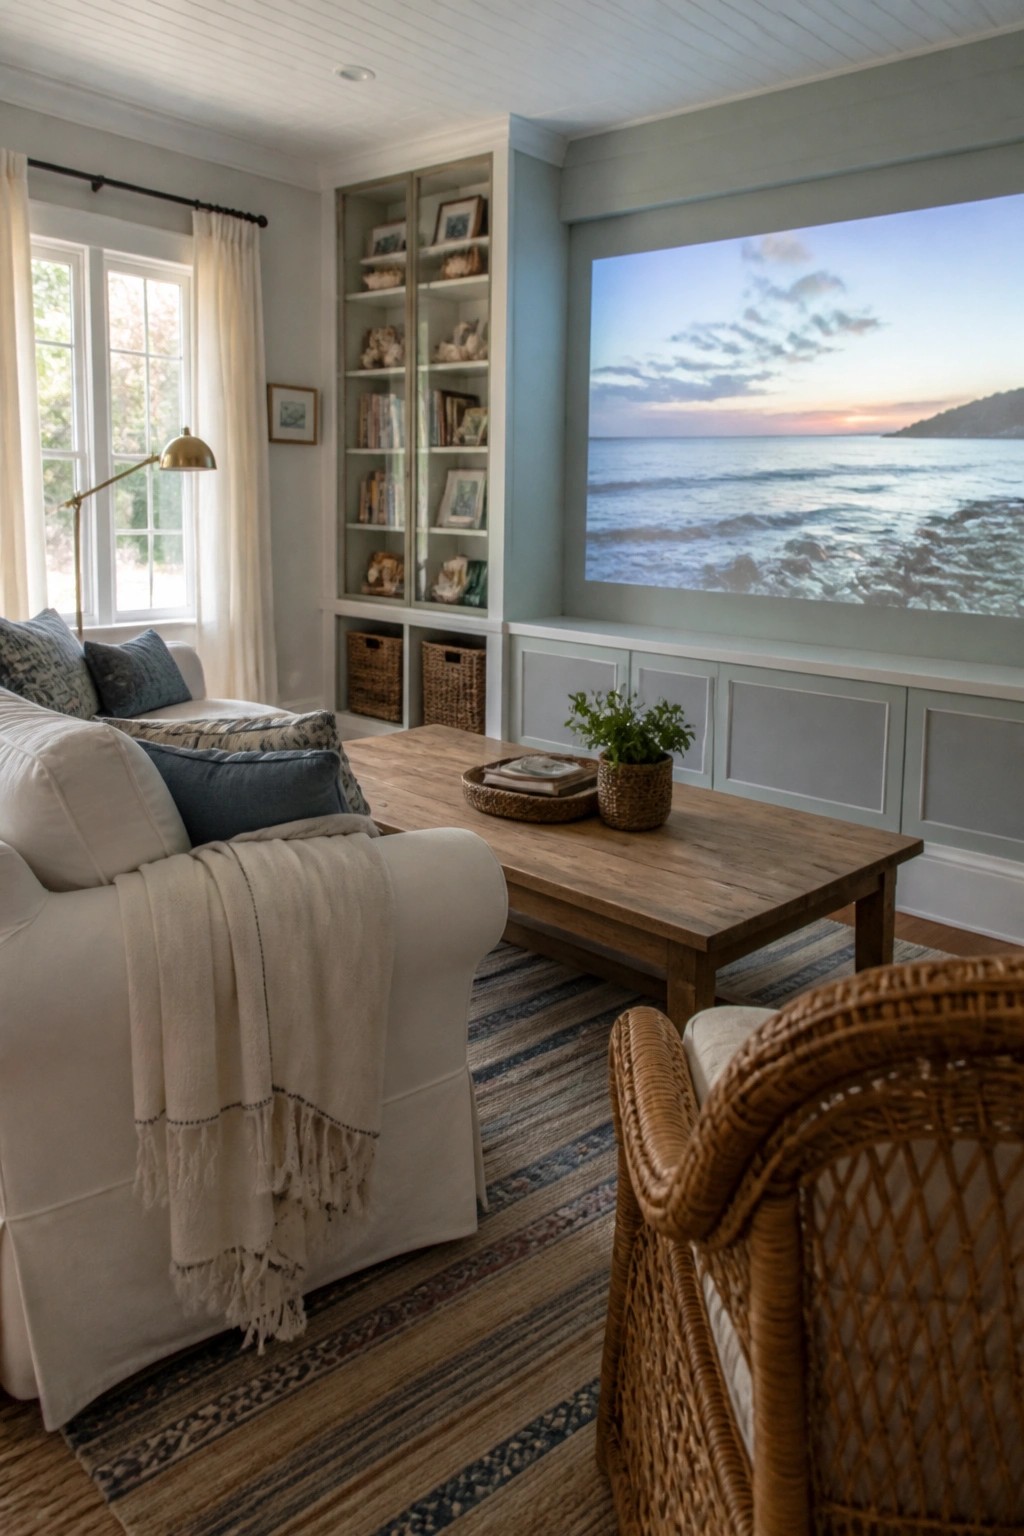
One simple way to make a projector screen feel like part of the room instead of an add-on is to set it into a wall of built-in cabinetry. The lower cabinets and side shelving give the screen a finished border and keep the wall from looking bare when the screen is off.
This setup works best in living rooms or family rooms that already have some trim detail or painted millwork. It suits homes where you want the media area to blend in rather than stand out as a separate zone.
Shelving on Both Sides of the Screen
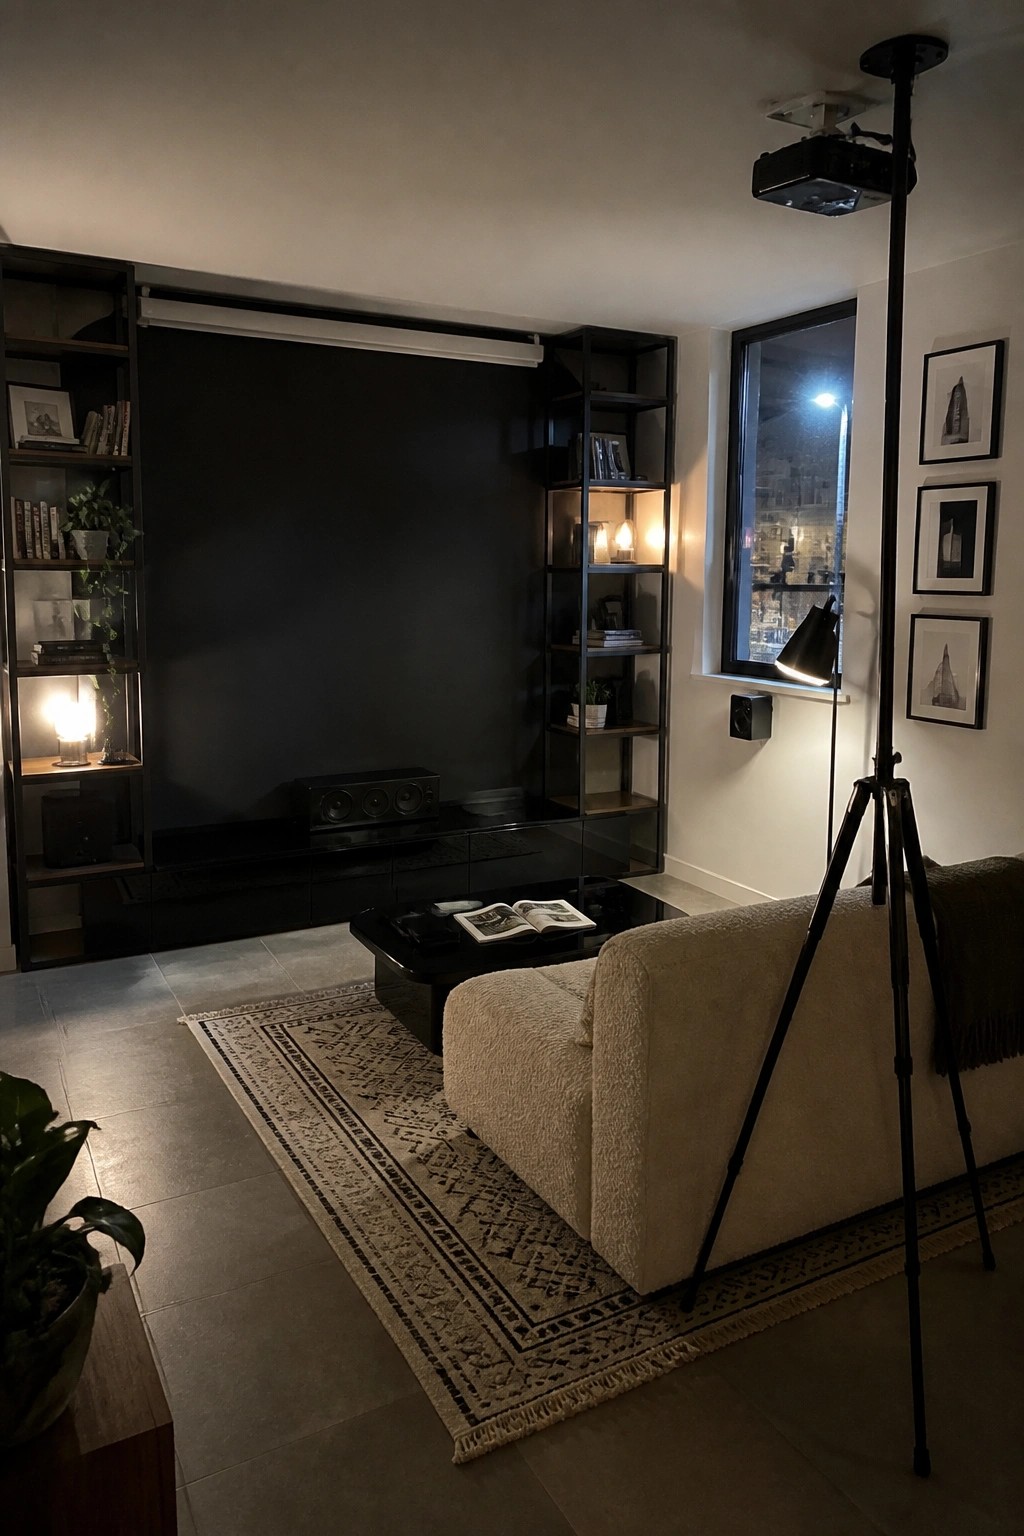
Open shelving on either side of a projector screen gives the wall structure without crowding the space. The shelves hold books, small lamps, and a few plants, so the room feels lived in instead of purely technical. This setup also hides some of the wiring and keeps the screen from looking like a big blank rectangle when it is not in use.
It works best in rooms that double as living space and theater. Keep the shelves fairly narrow so they do not push the seating too far back, and use warm lighting on the lower shelves to balance the projector glow. Darker finishes on the shelving help the screen stand out when a movie is playing.
Project Directly Onto the Wall
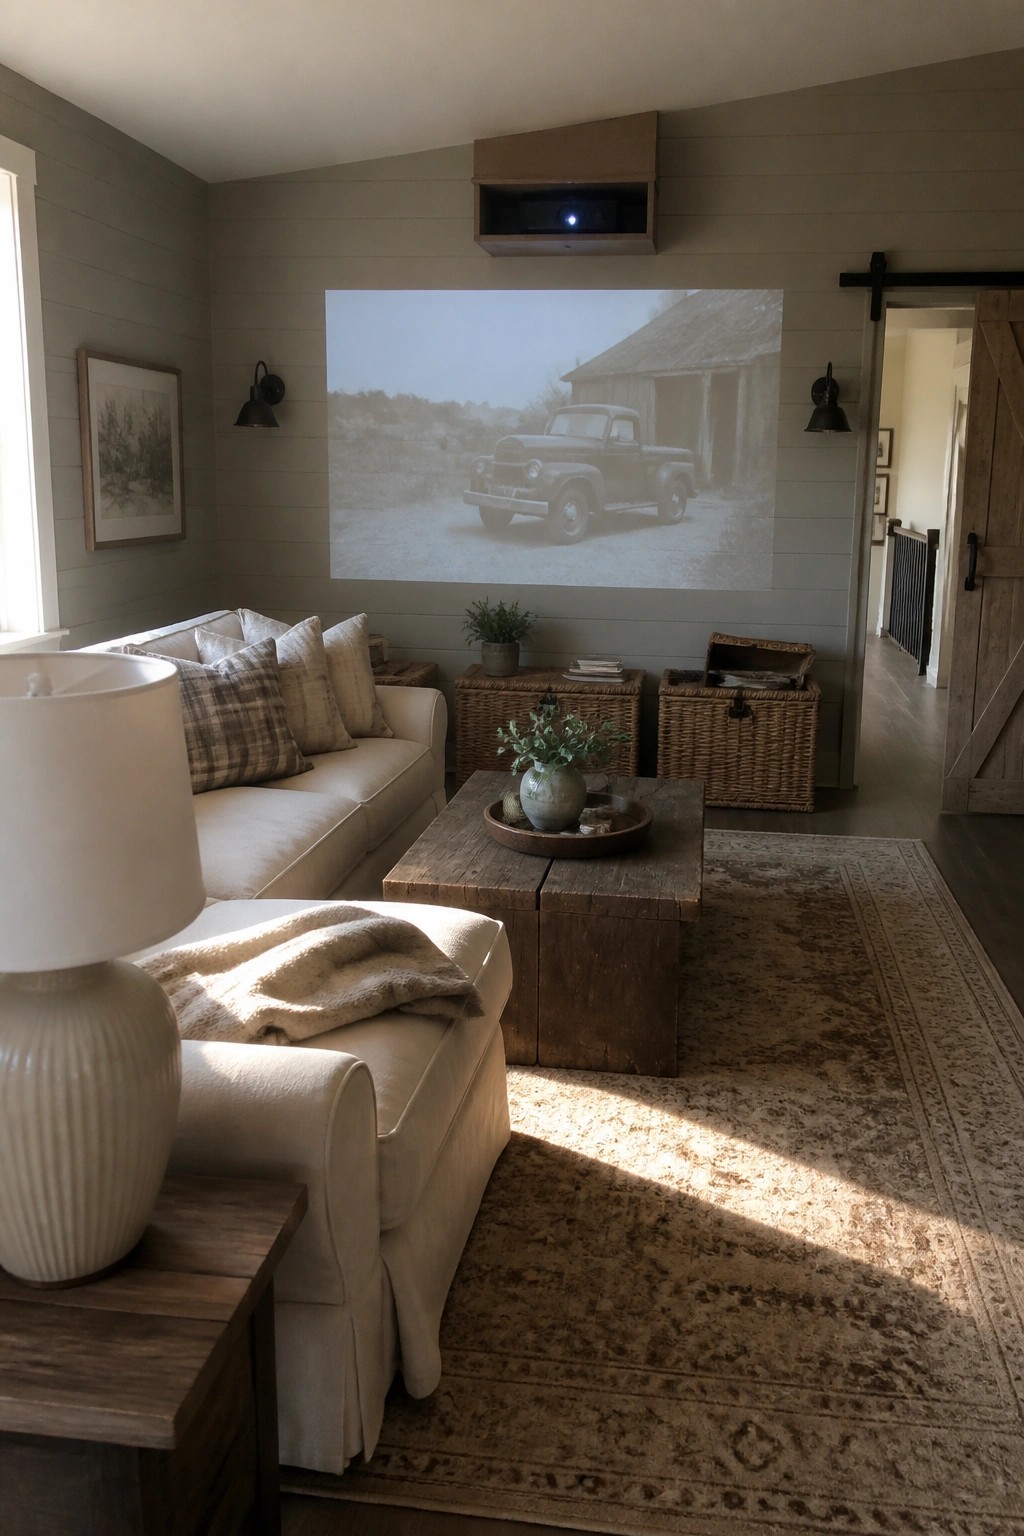
Projecting straight onto a plain wall keeps the room from looking like a dedicated theater. The setup stays simple, and the space can still work as a regular living room during the day.
This approach suits smaller or multi-use rooms where a fixed screen would feel too permanent. Just make sure the wall is smooth and the lighting can be dimmed enough for a clear picture.
A Projector Wall With A Floating Console
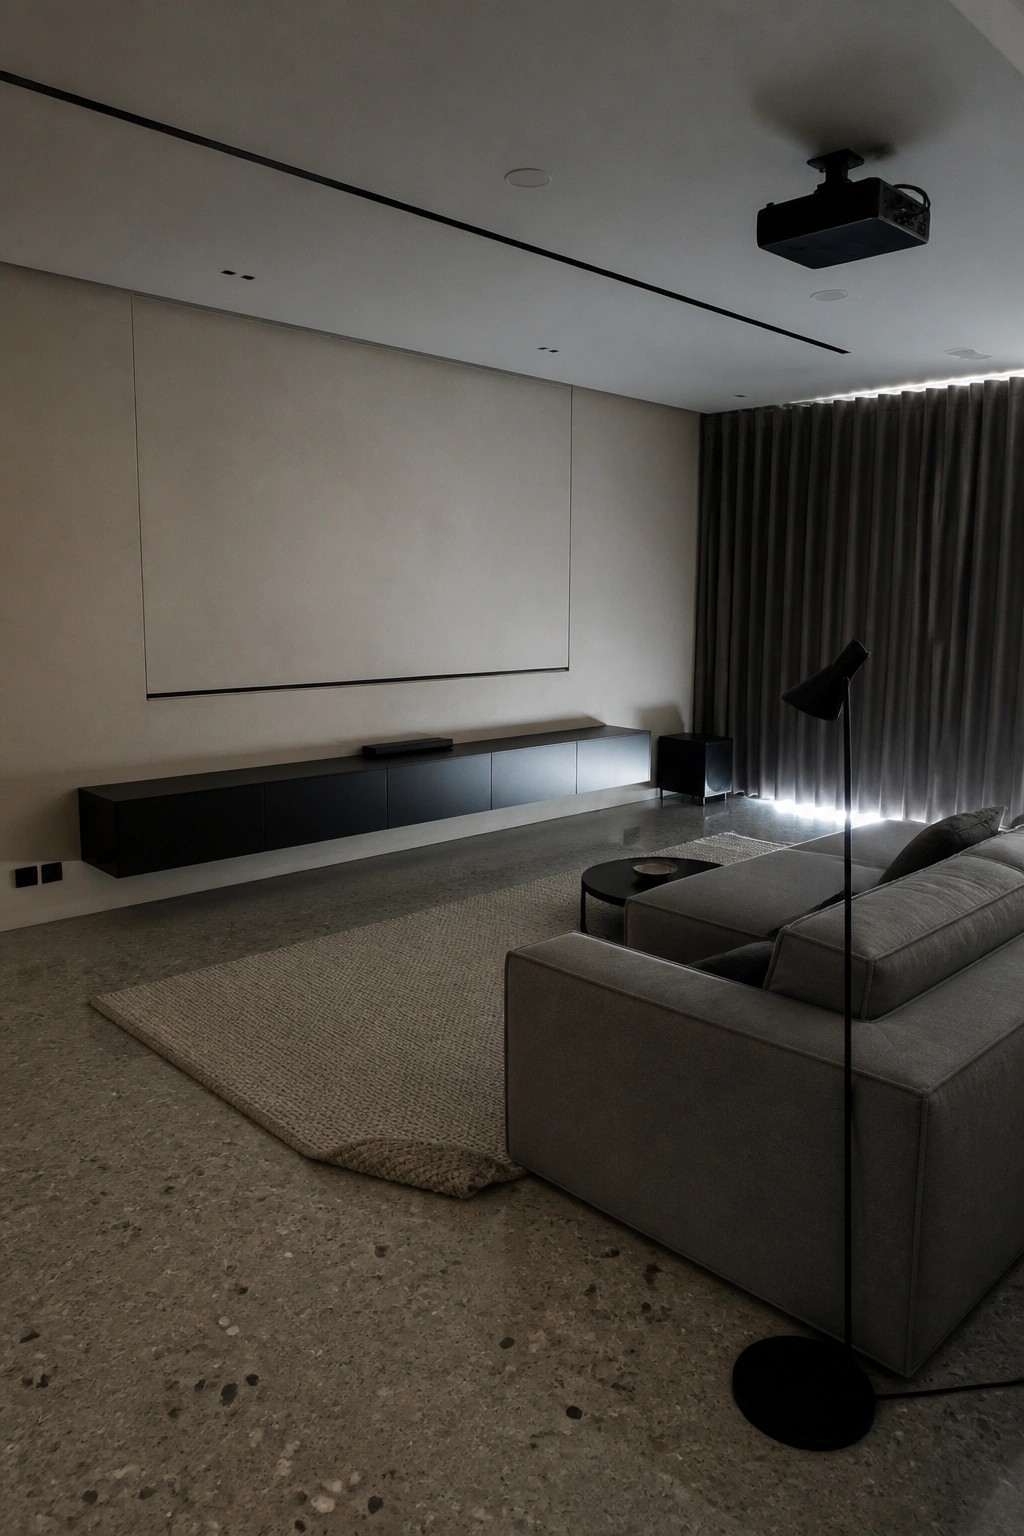
A large screen set into a plain wall works well when you want the room to stay open and calm. The key is keeping everything below it low and simple so the screen becomes the main feature without crowding the space. A floating console helps here because it leaves the floor clear and keeps the look light.
This setup suits modern rooms with neutral colors and minimal furniture. Place the projector on the ceiling so it stays out of the way, and use the console for just a few devices. It works best in spaces where you watch often but still want the room to feel like a regular living area when the screen is off.
Low Seating for a Casual Movie Room
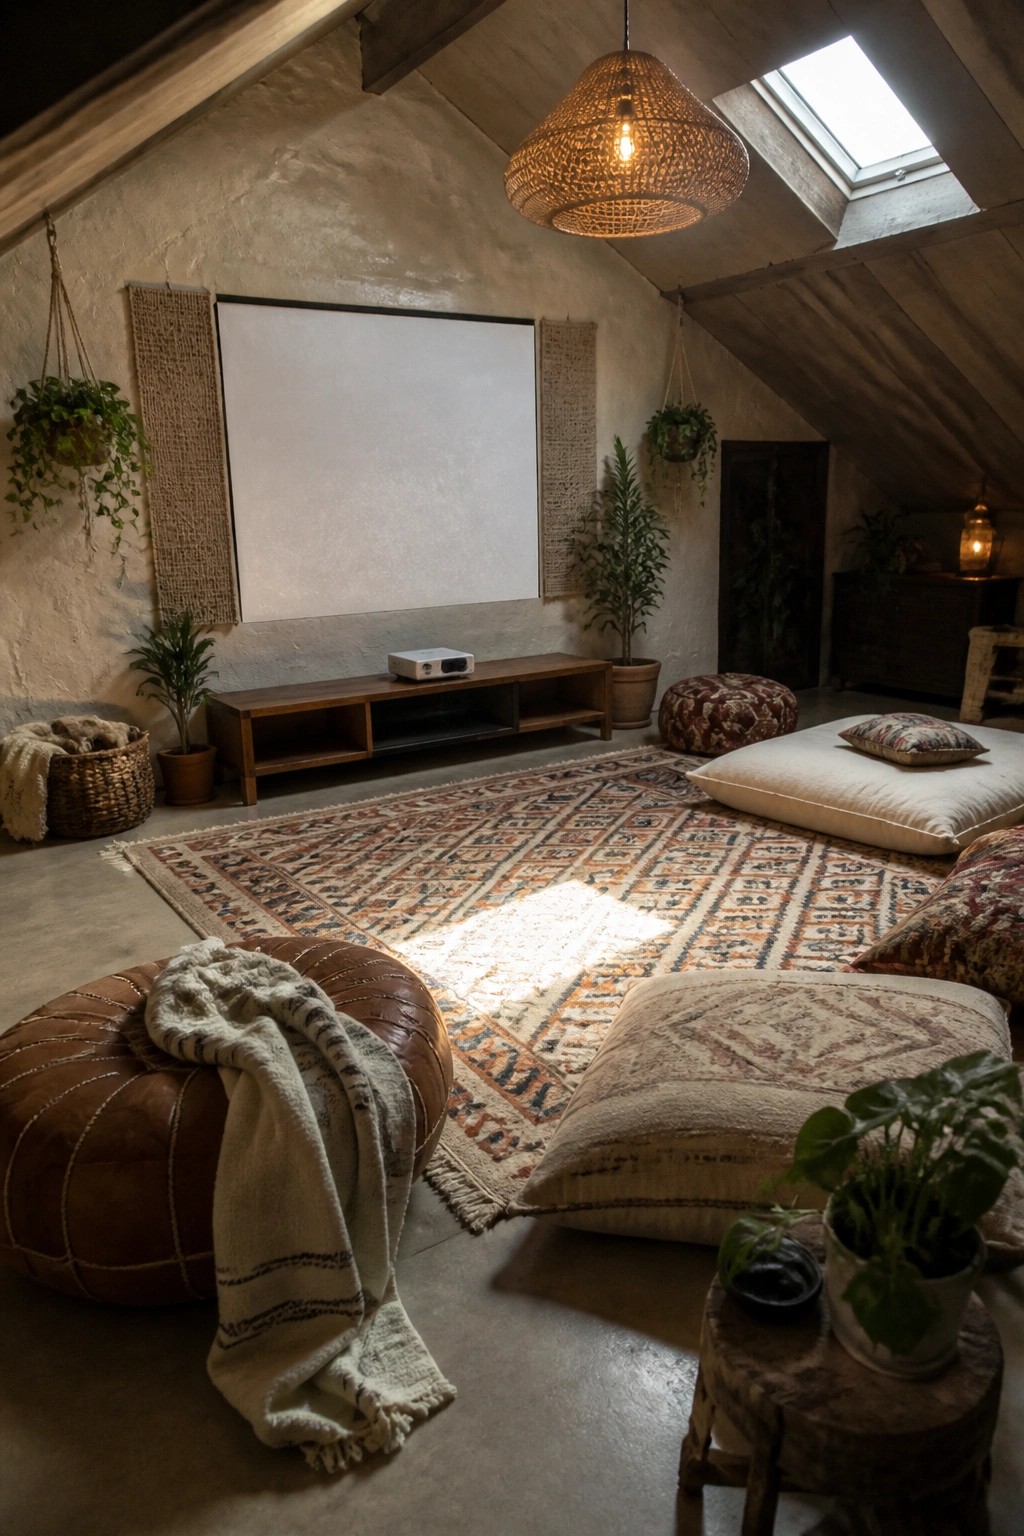
A projector screen works best when the seating stays low and relaxed. Floor cushions and large poufs let people spread out without blocking the view, and they keep the focus on the screen instead of on tall furniture. This setup feels easy in smaller rooms or spaces with sloped ceilings where regular chairs would crowd the area.
It suits homes that want a simple, no-fuss movie spot rather than a formal theater. Place the cushions on a big rug to mark the viewing zone, and keep the rest of the room light on storage so nothing gets in the way of the screen.
Raised Seating With Built-In Storage
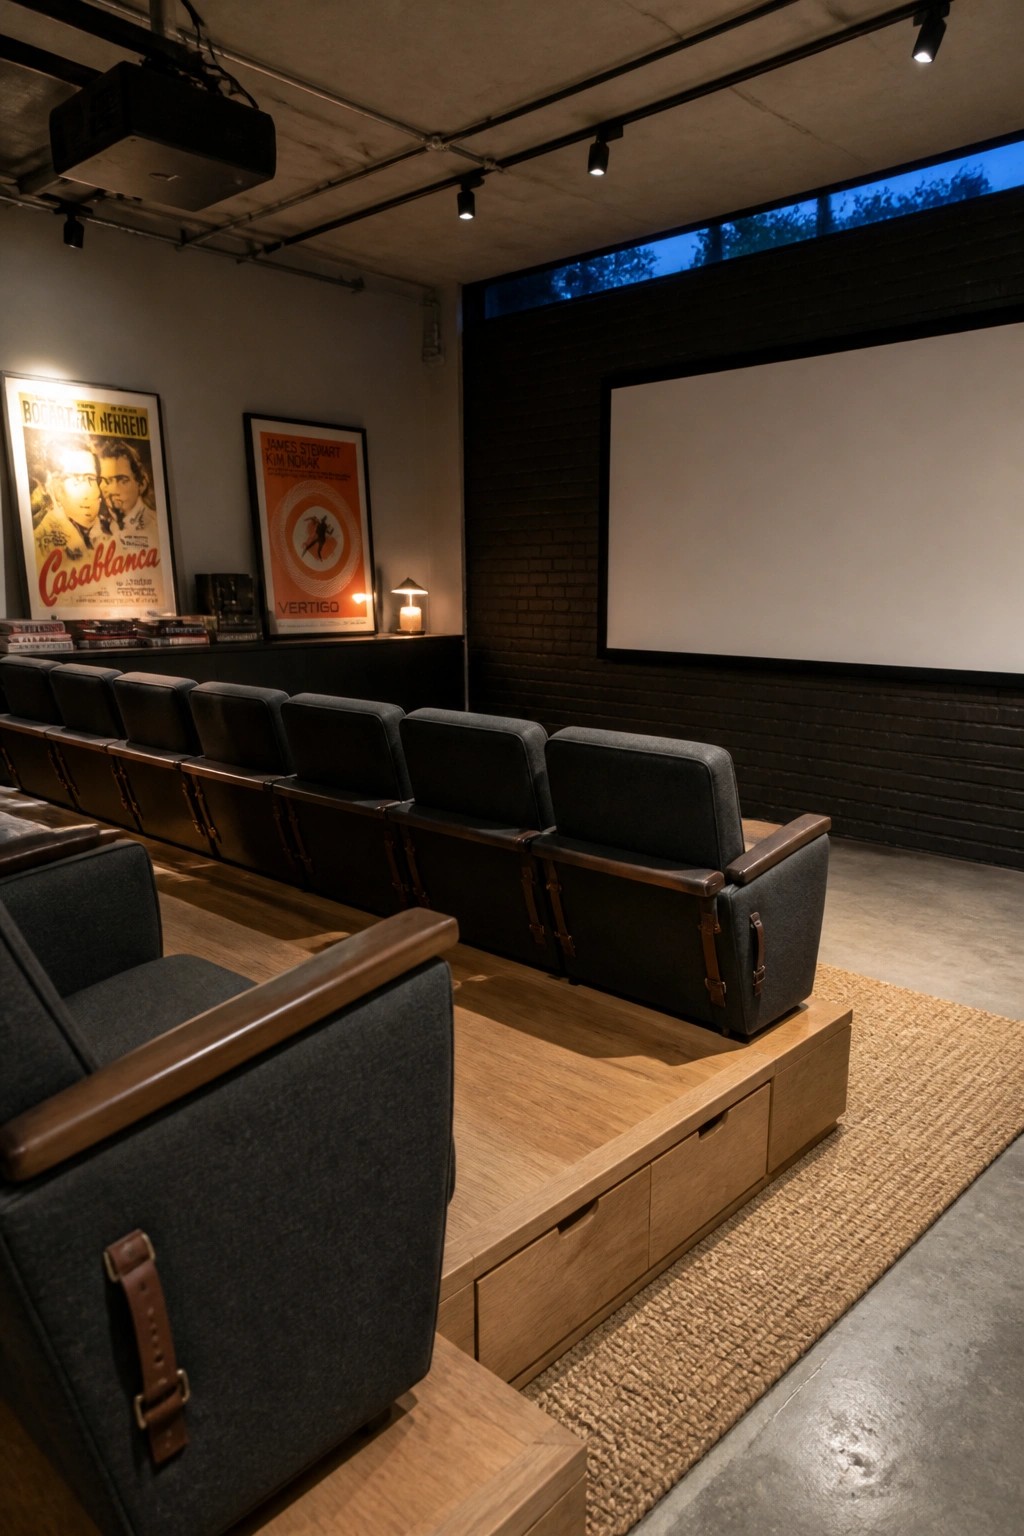
A raised platform under the seats gives everyone a clearer view of the screen while hiding storage drawers right where they are needed. The wood base keeps the room looking neat and makes it easy to pull out blankets or remotes without adding extra furniture.
This setup works best in rooms that double as guest spaces or play areas. It suits homes that want simple seating rows without losing floor space to separate cabinets or bins.
Built Ins Around The Projector Screen
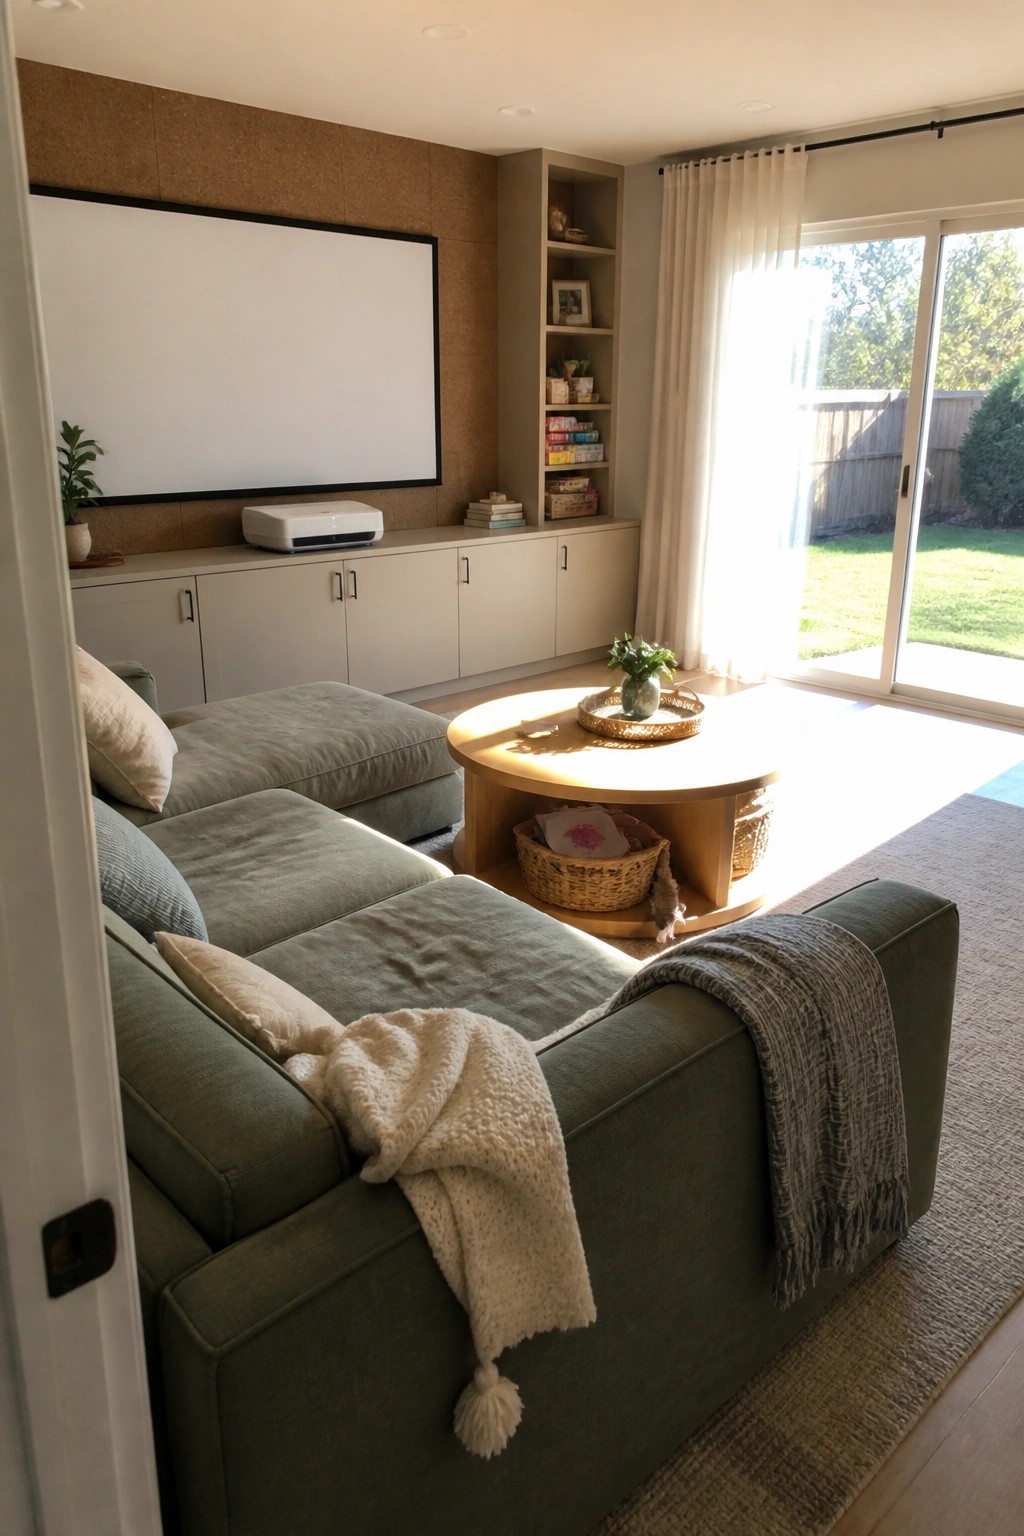
Built ins give the screen a settled place in the room instead of letting it float on its own. Cabinets below hold gear and supplies while the open shelves on the side keep a few books and small items in reach without extra tables.
This setup works best in a living room that doubles as the movie space. Keep the lower cabinets simple and painted to match the walls so the screen stays the main feature and the room still feels open during the day.
Paint the Wall Dark Behind the Projector Screen
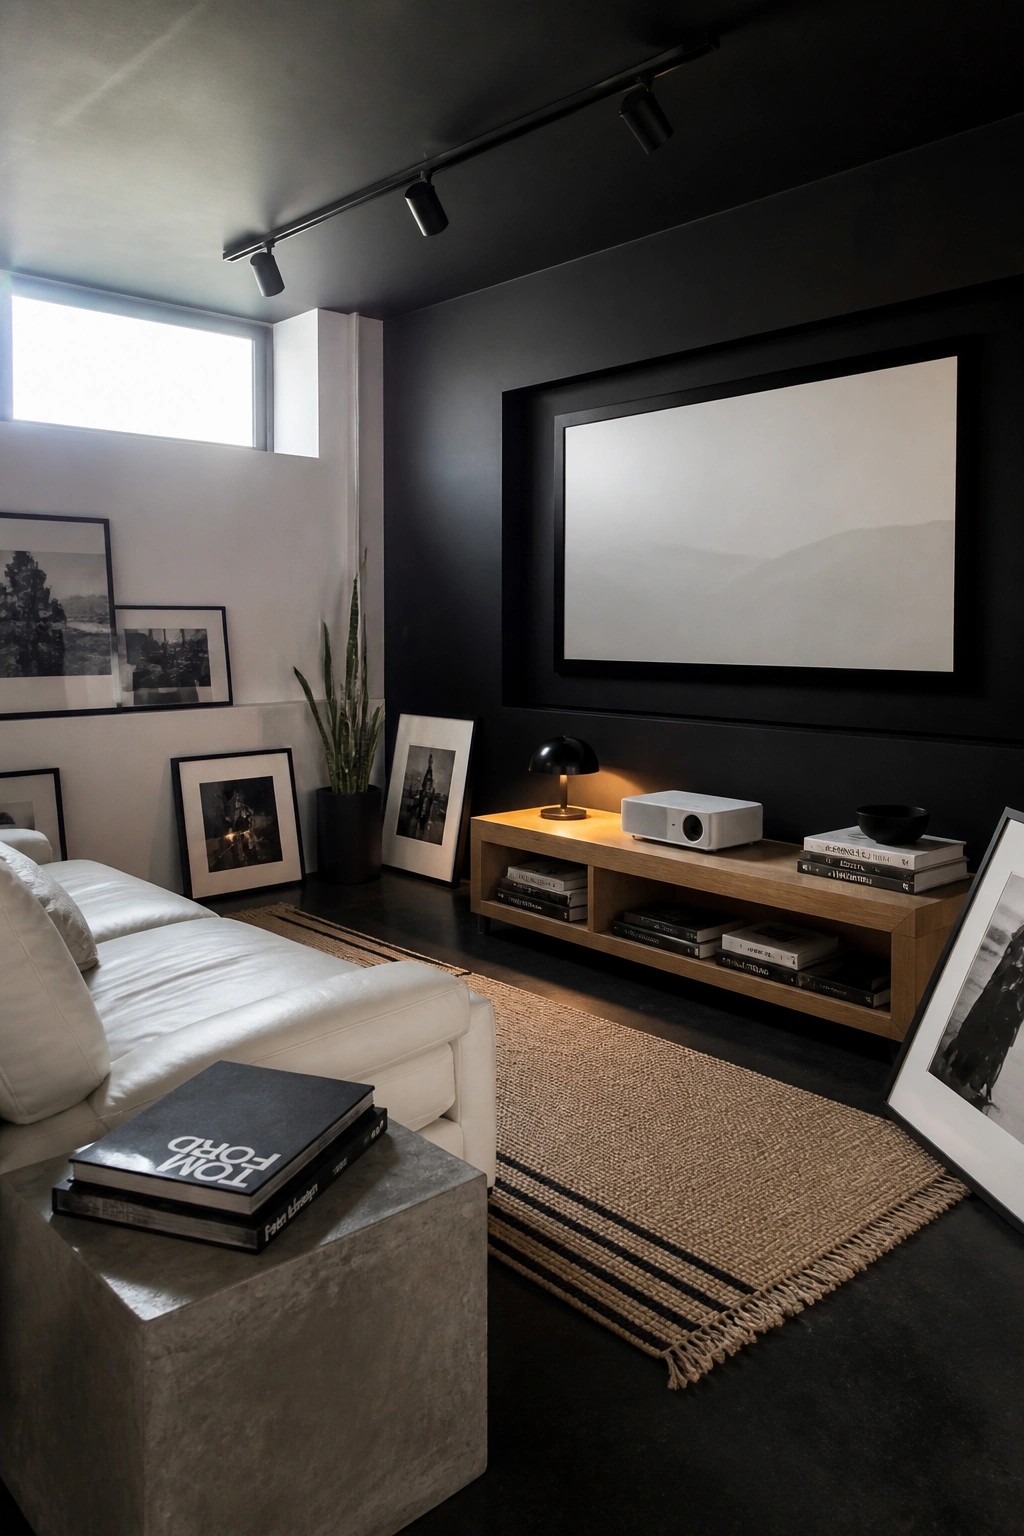
A dark wall behind the screen helps the image stand out and gives the room a more finished look without turning it into a full theater. The contrast keeps the focus where it belongs and makes the setup feel intentional rather than temporary.
This approach works best in rooms that still need to function as regular living space during the day. Keep the console or shelf below the screen low and simple so the projector has a clear path and the wall stays the main feature.
Tuck the Projector Into a Media Console
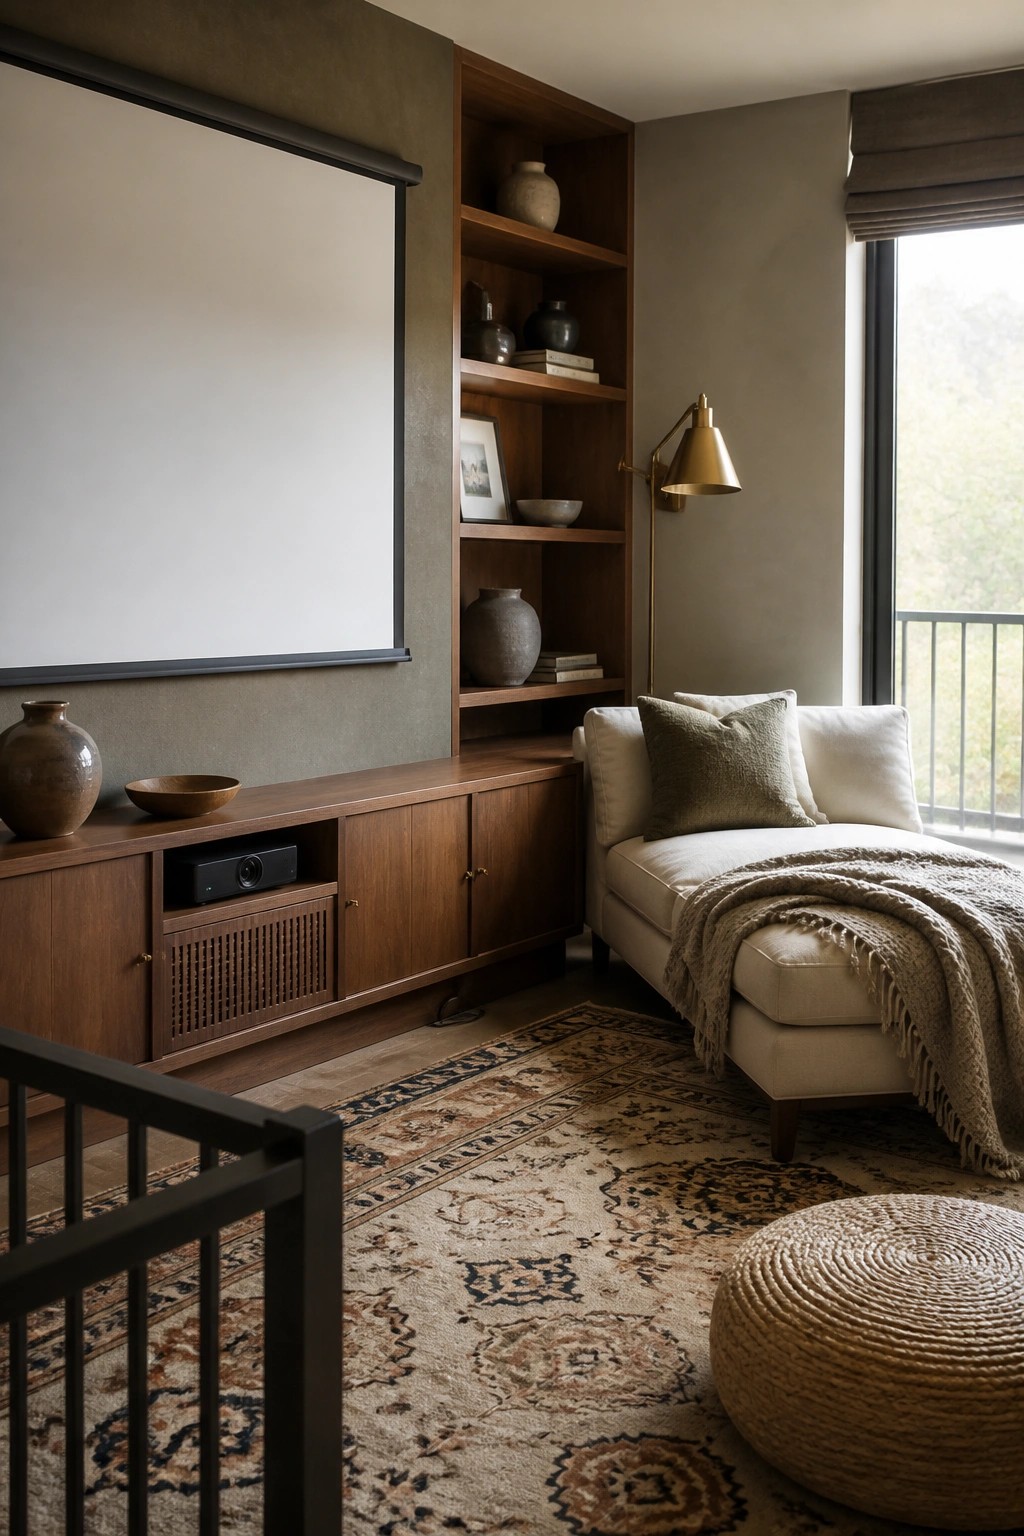
A long low cabinet gives the projector a permanent home without taking over the room. It keeps the screen wall clean and simple while still leaving room for remotes, cables, and a few other pieces of gear on the shelves above.
This setup works well in a room that is used mostly for movies. The cabinet can be sized to fit the wall exactly and finished to match the rest of the woodwork so the focus stays on the screen when the lights go down.
Center Seating on a Dedicated Projector Wall
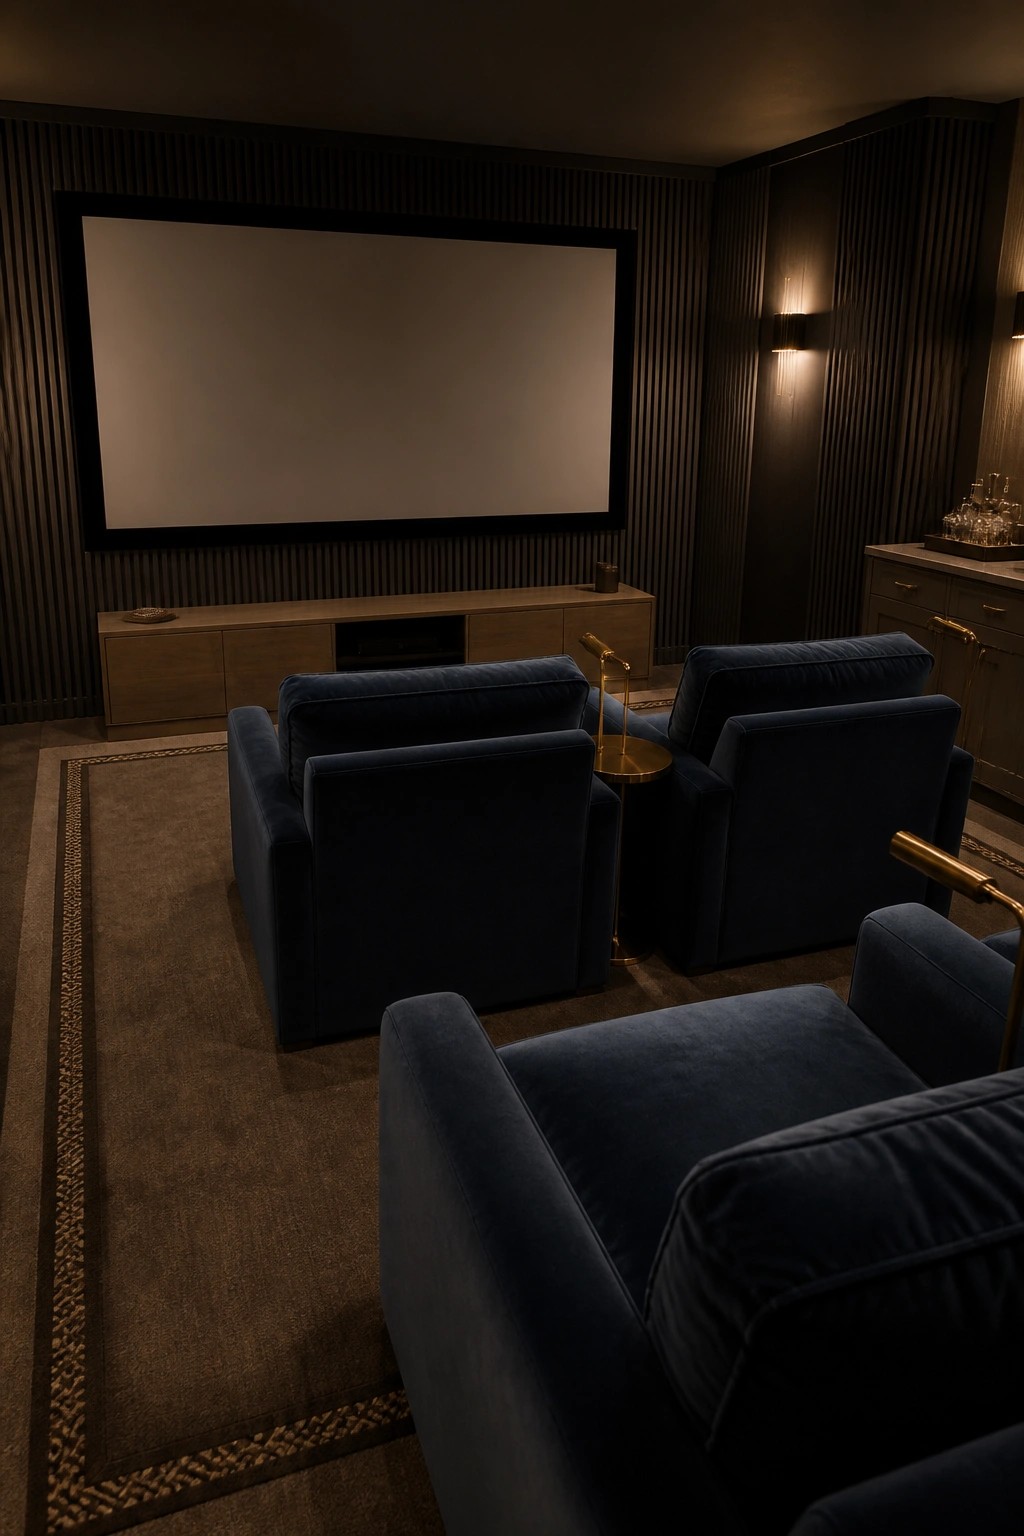
A dedicated projector wall works well when the room layout keeps every seat facing the same direction. Placing the screen on one long wall and grouping chairs in front of it creates a clear viewing focus without extra dividers or built-ins.
This setup works best in smaller or medium rooms where the main use is watching movies. Keep side tables low and limit other furniture so the screen remains the center of attention.
Built Ins Under The Projector Screen
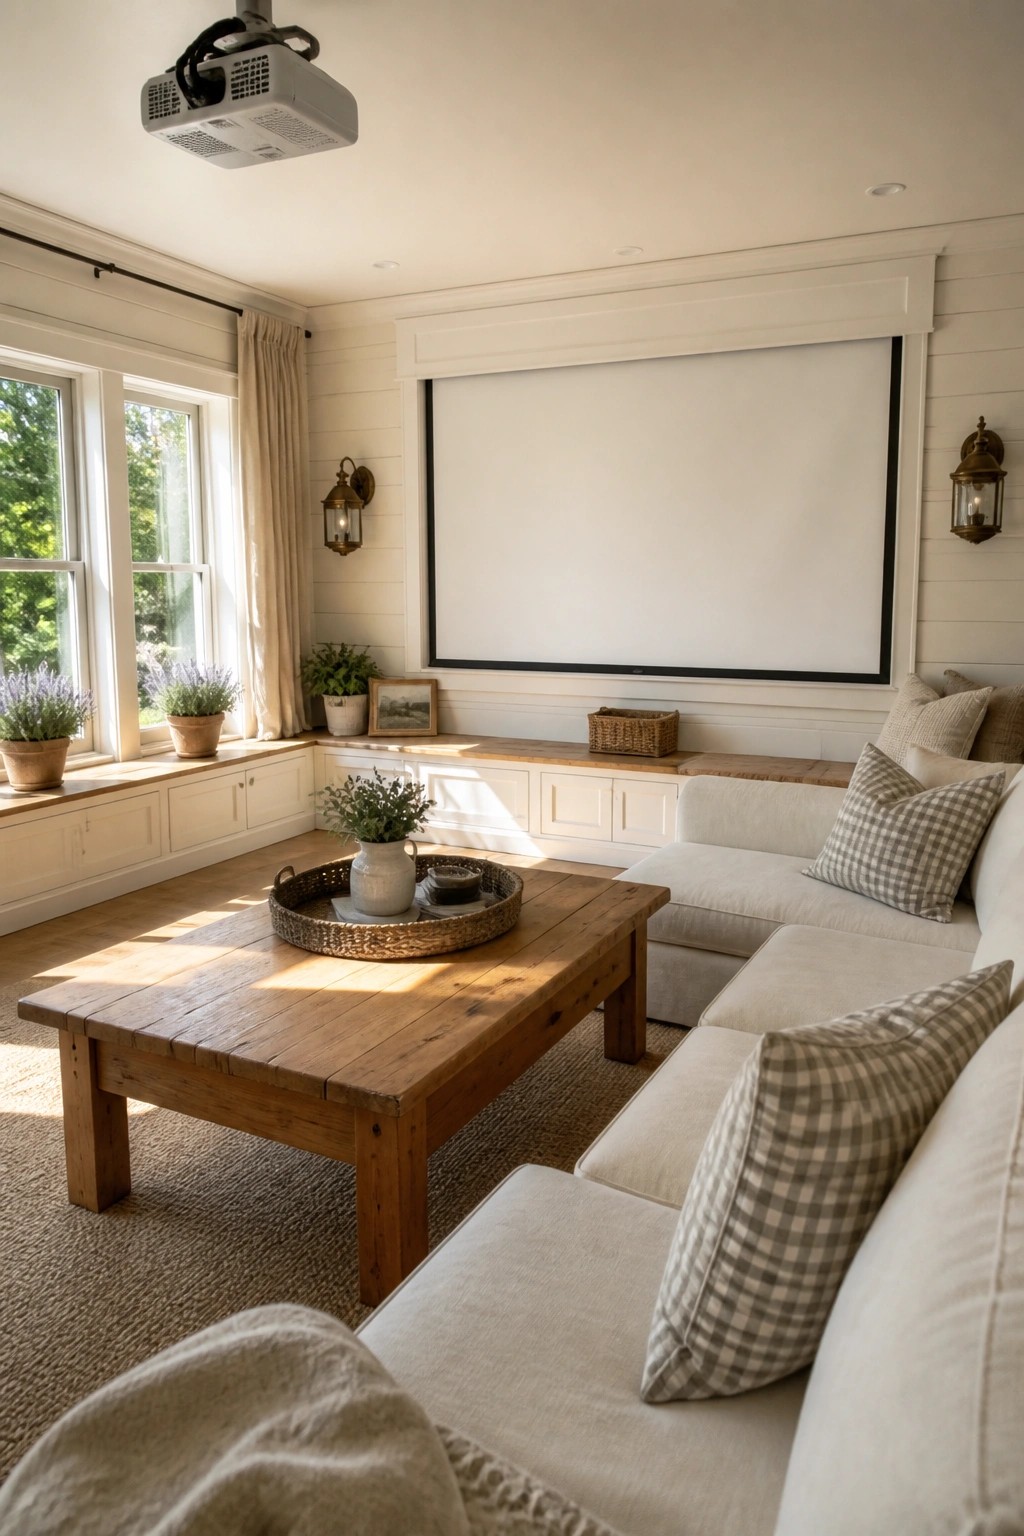
A projector screen can feel like it floats on the wall unless the space below it has some purpose. Built in cabinets give the wall a finished look and keep remotes, blankets, and media gear out of sight without adding extra furniture.
This setup works best in rooms that need to feel like a regular living space during the day. Keep the cabinets the same color as the wall so the screen stays the main focus.
Dark Walls Boost a Projector Screen in a Bedroom
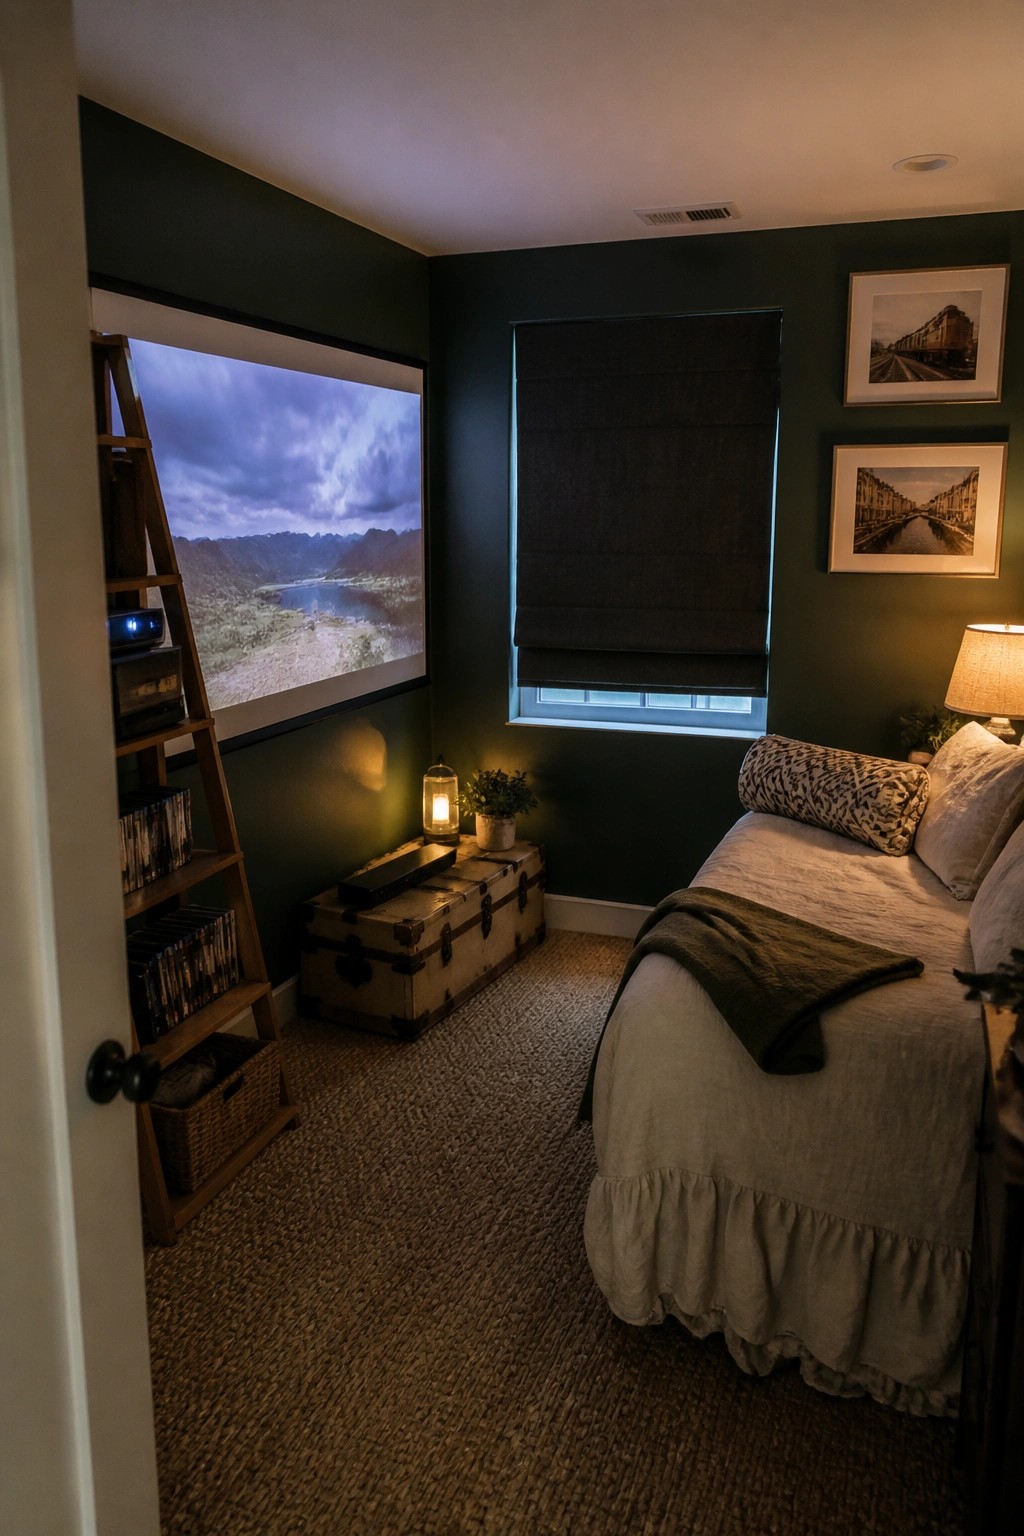
Dark walls give a projector screen better contrast and make the image stand out without needing a completely dark room. This approach turns a regular bedroom into a simple movie space while still keeping it comfortable for sleeping.
It works well in smaller homes or guest rooms where a full theater is not practical. Stick with one deep color on the screen wall and keep the other surfaces lighter so the room stays balanced.
Using One Wall For The Projector Screen
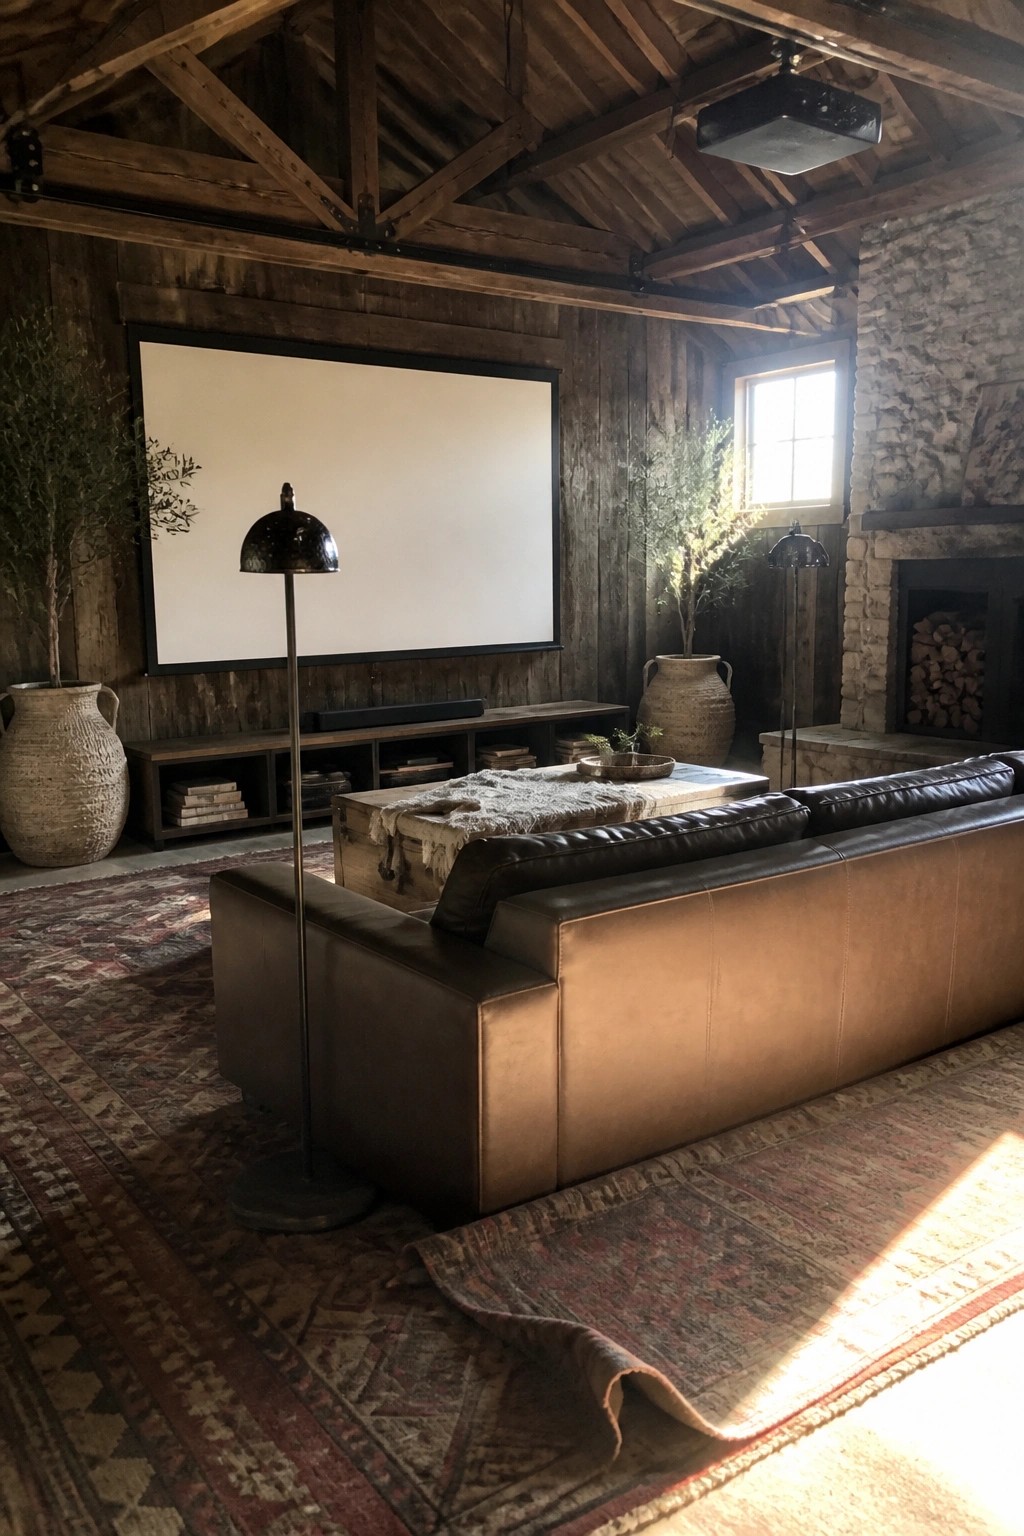
A big projector screen works well when it takes up most of one wall and everything else in the room stays secondary. It keeps the focus clear and turns an ordinary living space into a place where movies feel like the main event without needing a separate room.
This setup suits homes that already have open living areas and want to add a theater feel without heavy construction. Keep the wall surface flat and light colored, then arrange seating so the screen stays easy to see from every spot.
Mount the Projector Screen Above a Fireplace
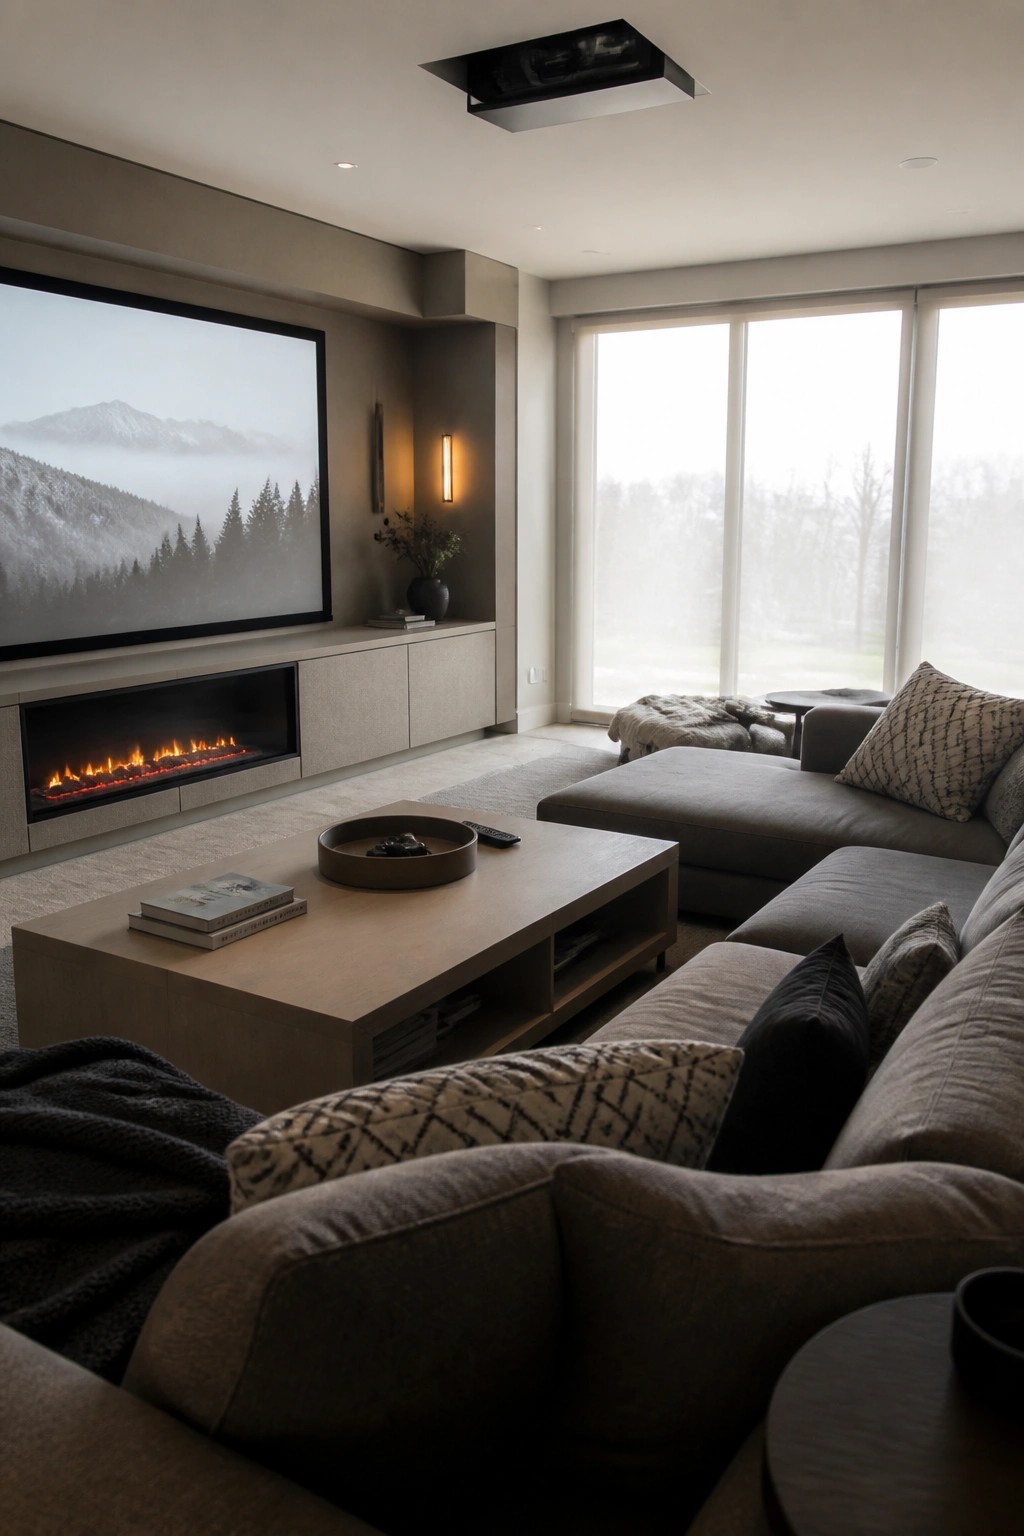
Placing the screen directly over a linear fireplace keeps the whole media setup on one wall and frees up the rest of the room for seating. It also gives the space a bit of warmth during long movie nights without adding another piece of furniture.
This approach works best in rooms that already have a solid focal wall and decent light control. Keep the fireplace slim and the screen frame simple so the two elements sit well together without competing for attention.
Paint the Wall Behind the Screen Black
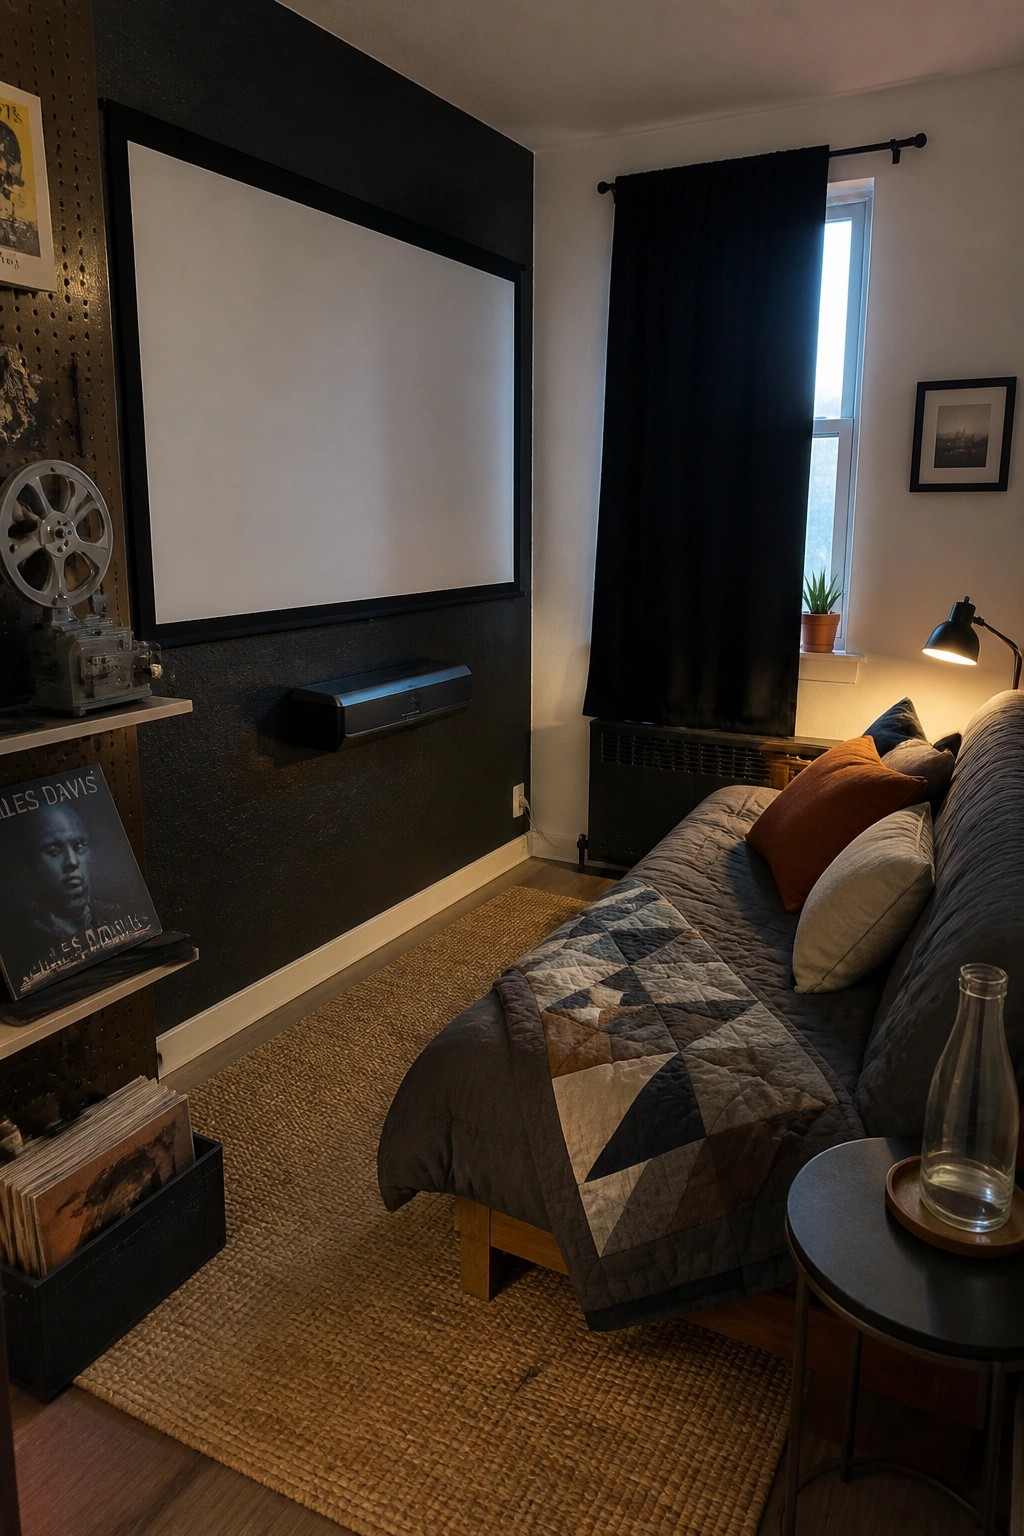
A black accent wall behind the projector screen helps the image stand out more clearly. It cuts down on light bounce from the sides and makes the screen feel like the main focus even when the rest of the room stays light.
This works well in a living room that doubles as a movie space. Keep the other walls light so the room does not feel closed in, and mount the screen directly on the painted surface for the cleanest look.
Adding A Pull Down Screen To Your Living Room Wall
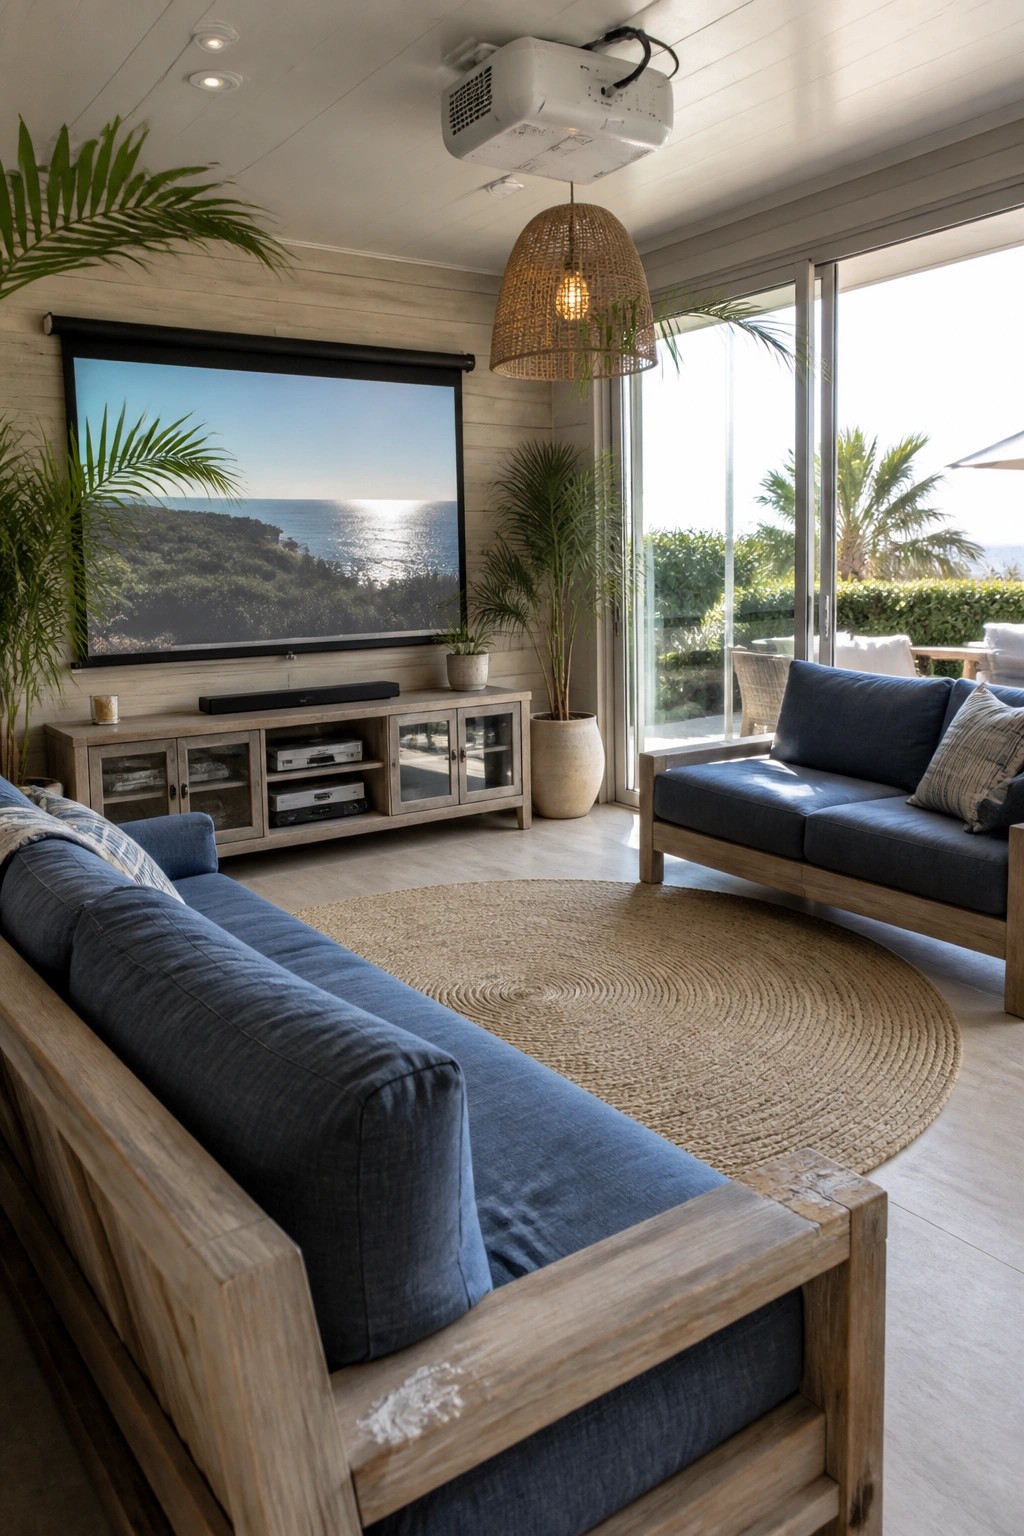
A pull down screen gives you a proper movie setup without turning the whole room into a dark theater. It sits above the media console and disappears when not in use, so the space still works for everyday sitting and conversation. The natural light from nearby doors stays useful instead of being blocked off.
This works best in rooms that already have a long wall and some seating distance. Keep the console simple and low so the screen can drop cleanly, and choose seating that faces the wall without feeling too formal. It suits homes that want the option of movies but do not want a separate media room.
Raised Platforms for Stadium Seating
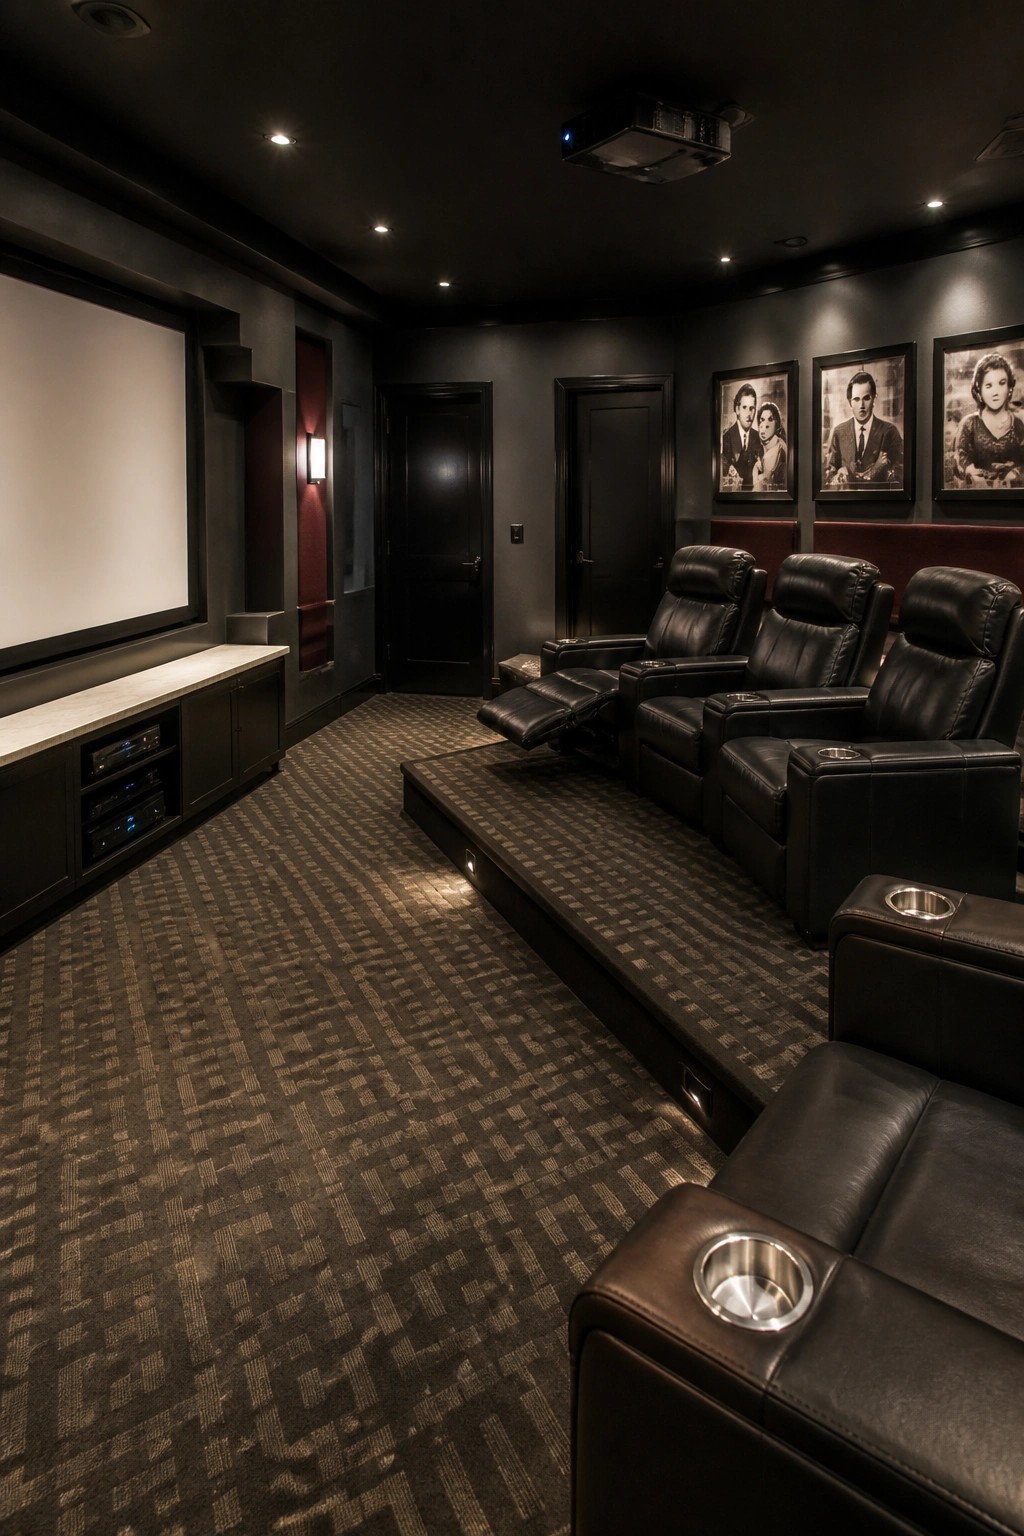
A raised platform under the seating rows makes a big difference in a home movie room. It gives everyone a clear sightline to the screen without anyone having to crane their neck or shift around during a film.
This setup works best in rooms that are long rather than wide. Keep the platform height modest, around eight to twelve inches, so it does not feel like a step hazard. Dark carpet on the riser helps it blend in and keeps the focus on the screen instead of the floor structure.
Low Seating Keeps the Focus on the Screen
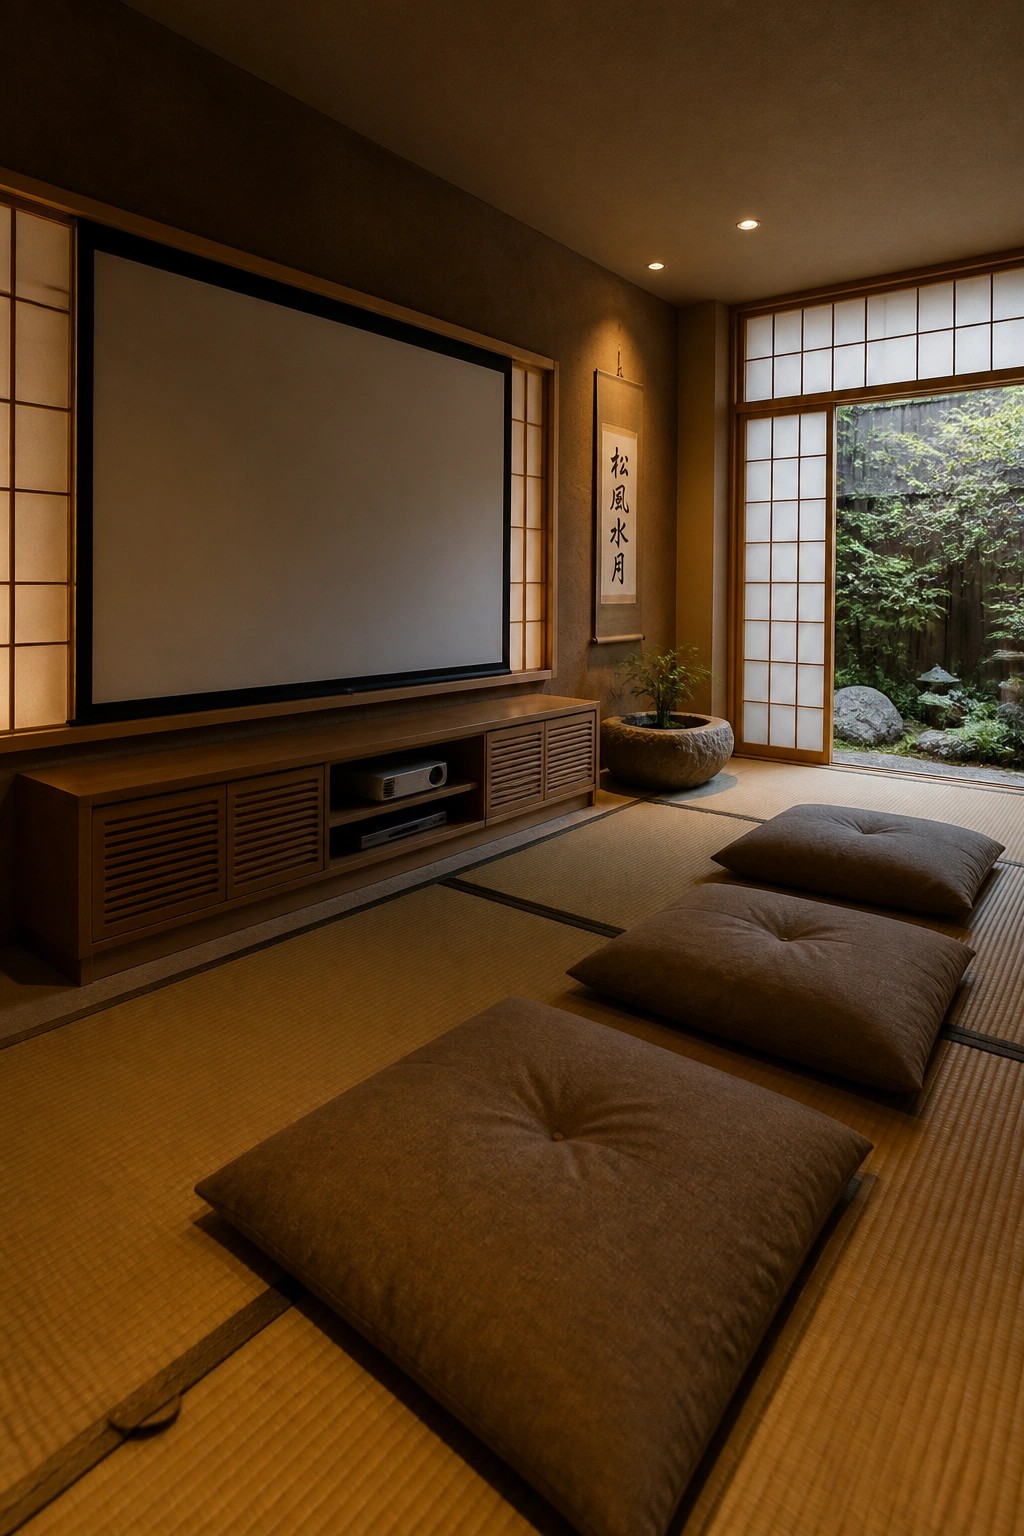
Many people set up a projector room with low cushions instead of sofas. This choice keeps the view clear and gives the space a calm, open feel that suits a large wall screen.
The setup works best in rooms that already have a simple floor plan. Thick cushions and a flat surface make it comfortable for longer viewing without adding height that might block the screen.
Frequently Asked Questions
Q: Do I need special paint for the projector wall? A: Regular flat paint works fine in most cases. Choose a light gray shade to boost contrast. Test a small patch first to see how your projector looks on it.
Q: Where should I place the seating for the best view? A: Arrange seats in a gentle curve facing the wall. Keep the main row about twice the screen width away. This distance makes the picture fill your vision nicely.
Q: What about adding sound without ruining the look? A: Mount speakers behind a fabric panel on the wall. Or use wireless models tucked into corners.
